-
Sign Printing FAQ
[…] color in your design or as a fifth color in the CMYK process. A flood of ink refers to a single color that covers your sign from edge to edge. Spot white printing means a white layer of ink will be printed in designated areas of your design (and is typically a base layer […]
Read more› -
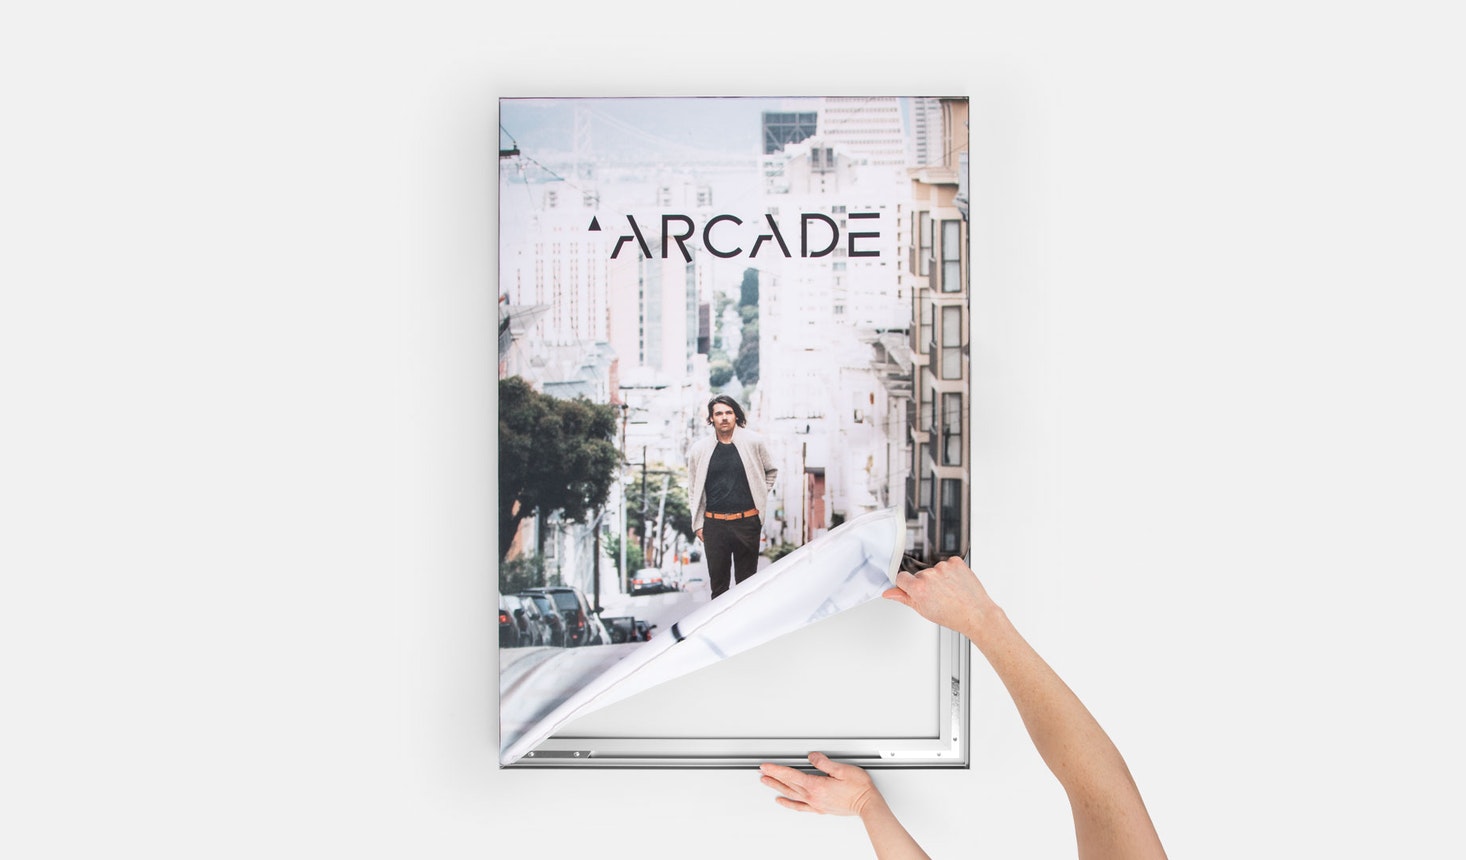
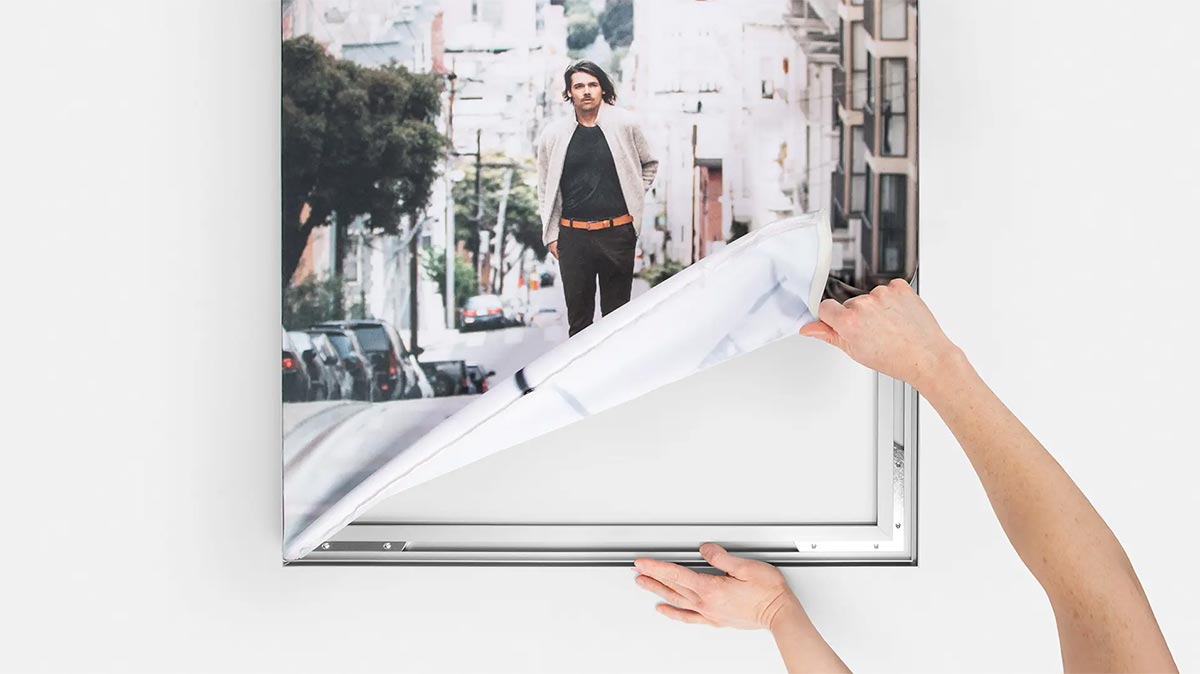
How to Install Silicone Edge Graphics (SEG)
Silicone edge graphics (SEG) add stunning imagery to your office, work-from-home space, retail environment and trade show booths. Once you’ve designed yours with our online printing services, installation takes no time at all. Follow these simple steps to learn how to install silicone edge graphics: Frame Assembly Step 1: Lay out the frame pieces […]
Read more› -
Silicone Edge Graphics FAQ
Have a question about printing custom Silicone Edge Graphics (SEGs)? Check out these silicone edge graphics FAQ and learn about materials, frames, installation and more. What sizes are available? You can design custom SEGs for online printing in up to six predetermined sizes in both vertical and horizontal orientations. What material is available? SEG […]
Read more› -
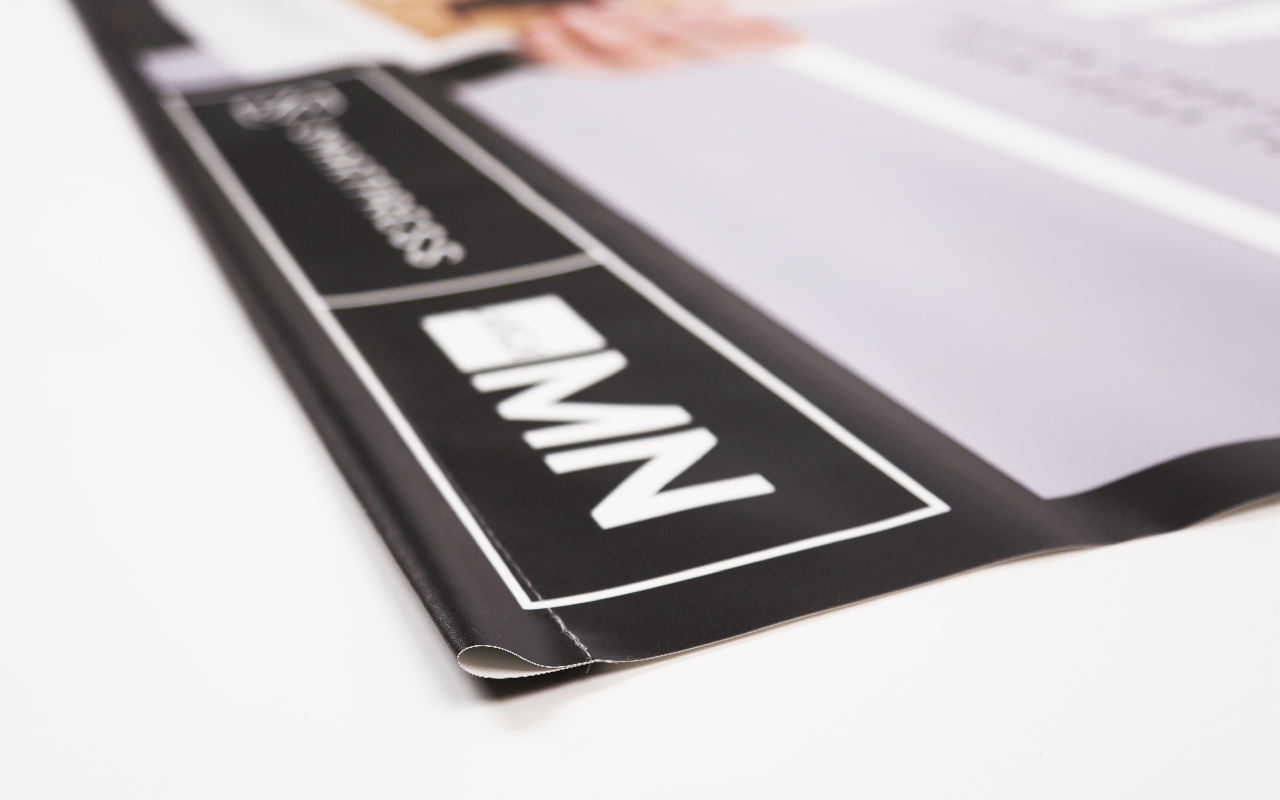
How to Hang Your Banner
[…] to 3/4″ in diameter 2.5” Pockets – Fit dowels up to 1” in diameter When ordering: Pocket width is added to the banner size so the outer edge of the pocket follows the original art border, ensuring the finished product matches the “Final Size in Inches” you specified in the calculator. Stitching is placed […]
Read more› -
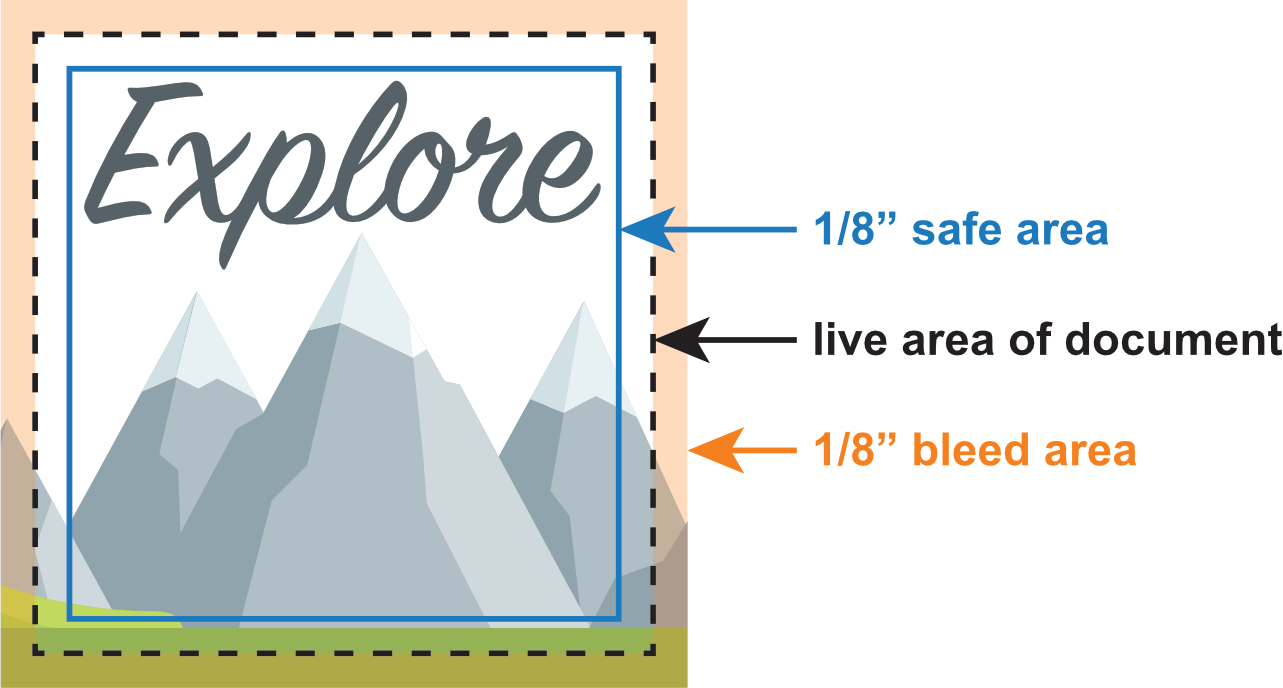
Bleed & Crop Marks
What is Bleed? In online printing, a bleed is printing that goes beyond the edge of the sheet after trimming. It is part of the background that will be trimmed off after the file is printed and cut down to the finished size. As such, the bleed is an area where the document image is […]
Read more› -

Mailing Design Guidelines
[…] than 6” x 9”. For Standard rates, they can be no larger than 6-1/8″ x 11-1/2″. Keep any wording, logos or other important art 1/8” from the edge. If it’s closer than that, it may get trimmed off during the printing process. Addressing The address can be placed anywhere within a specific space on […]
Read more› -
Canvas Prints FAQ
Have a question about canvas printing? Check out these Canvas Prints FAQ and learn about our canvas material, image size recommendations, edge style and more. What sizes are available? You can design custom canvas prints for online printing in our predetermined sizes or use custom dimensions. When you enter your desired dimensions in the Finished […]
Read more› -
Cutting Tolerance for Print
[…] recommends a tolerance of 0.125″ for our online printing services, meaning the trim line can vary by up to 0.125″. Anything that comes within 0.125″ of the edge of the cut line could potentially be cut off. Text or other elements you want to ensure are not trimmed away must be placed more than […]
Read more› -
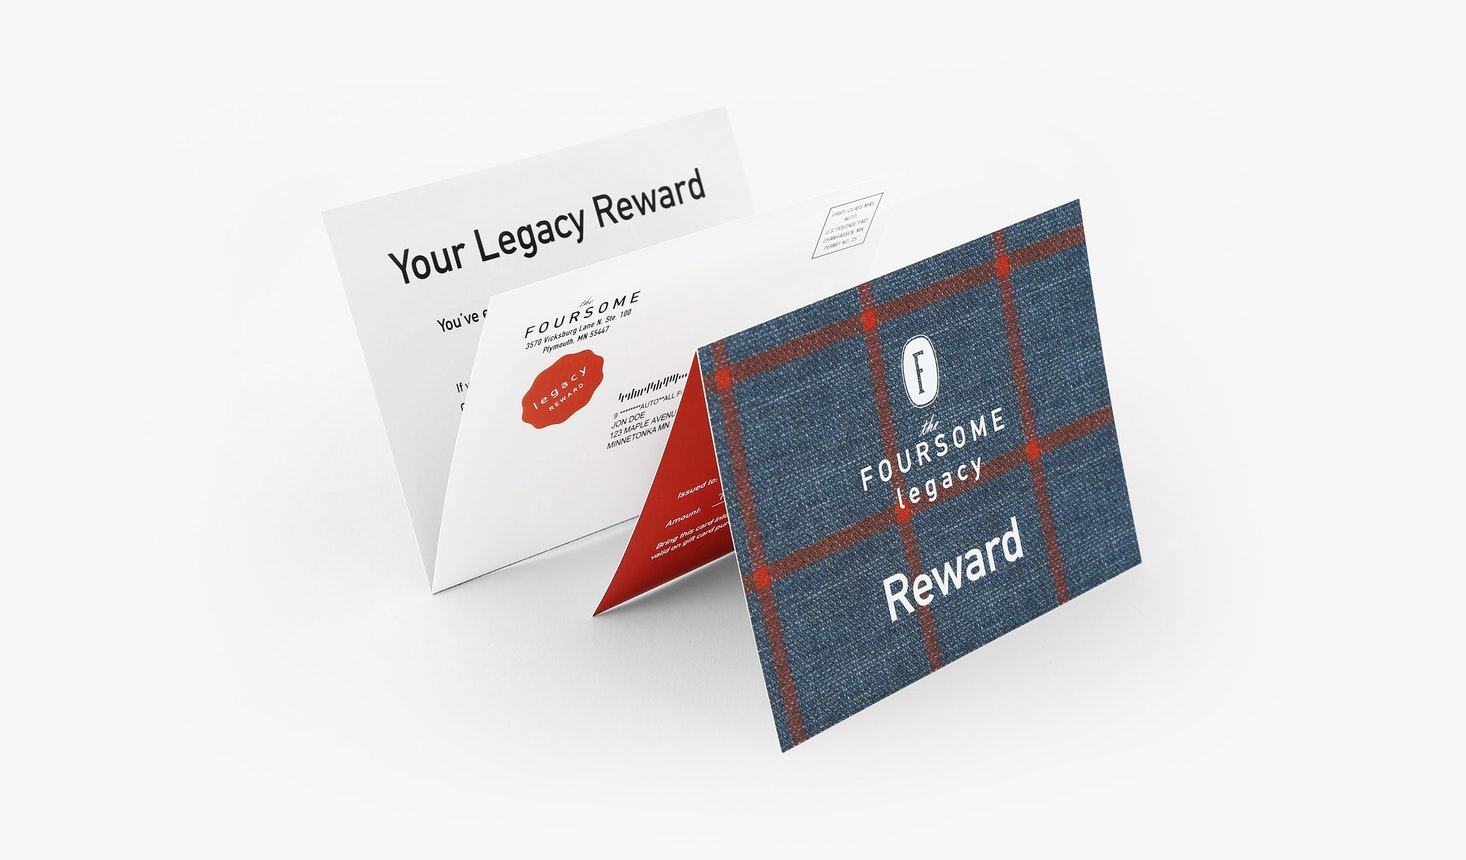
Direct Mail Printing FAQ
[…] be up to 2″ thick. Are there design guidelines for the address field? Yes: The address, return address and postage placement should read parallel with the longest edge of the mailer. If a return address is included, it must be located 1/4” from the top left side of the mailer. The top of the […]
Read more› -

How to Install Window Clings
[…] with applicator fluid, misting each with a couple of sprays (Hint: Less is more!), and set your cling back to your tape marks. Step 4 With the top edge of the cling in place, use a hand applicator or credit card to smooth the top edge down and out from the center. We recommend placing […]
Read more› -

How to Install Floor Graphics
[…] will be with tape. Step 2 Peel back the liner from your graphic and set the graphic back to your tape marks. Step 3 With the top edge of the graphic in place, use a hand applicator or credit card to smooth the top edge down and out from the center. We recommend placing […]
Read more› -
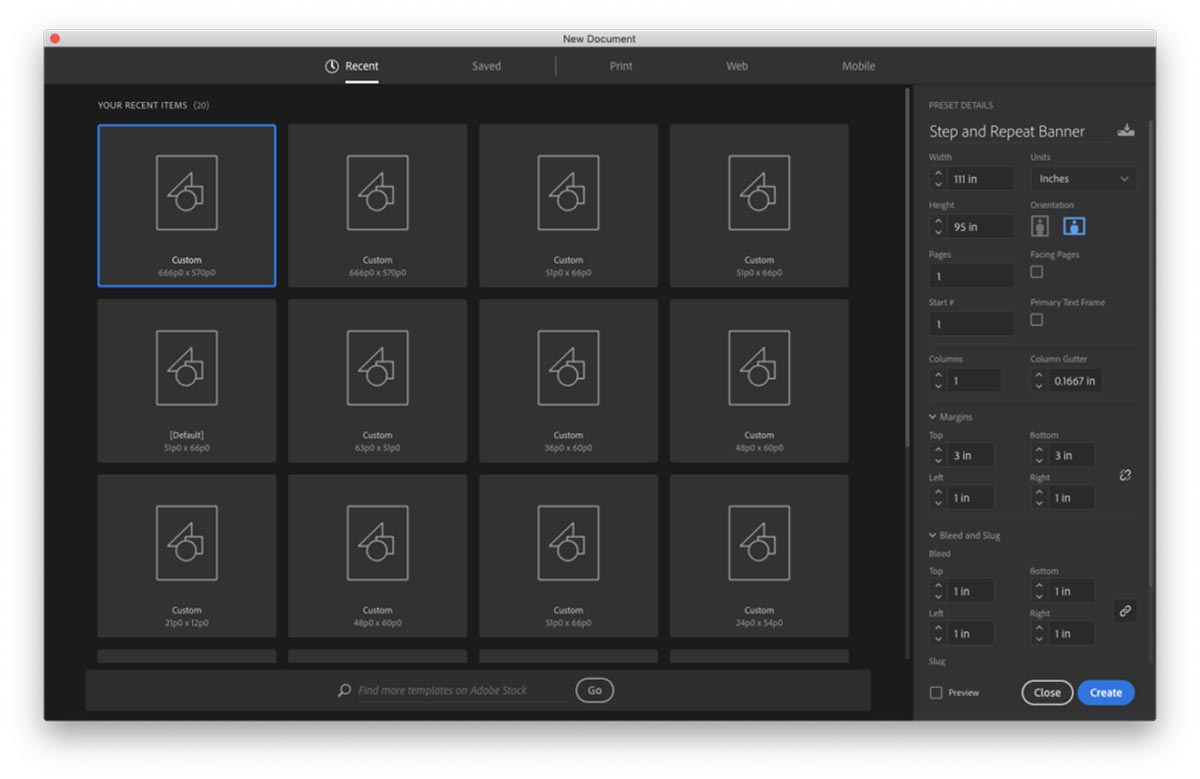
Packaging InDesign Files
A packaged InDesign file makes it easy to gather all your project’s elements, fonts and images together in one place to prepare it for print. Before packaging InDesign files, you’ll want to go through this checklist to ensure they’re ready to be sent to an online printer. Size Your project must be the exact size […]
Read more› -
How to Set Up Your File
[…] the success of your print job, please see How to Save Your PDF. If your print job has a bleed, please make sure your artwork overlaps the edge of the page by 1/8″ – 1/4″. For smaller jobs like business cards, flyers and postcards, 1/8″ is sufficient. For large format jobs like posters, custom […]
Read more› -
Digital Laser Cutting
What is Digital Laser Cutting? Digital laser cutting is a process to cut paper and other thin, flat materials into shapes such as a circle, heart or star. Smartpress’ online printing services include a MotionCutter laser digital die-cutting system, which also allows for perforating, scoring, creasing and etching. Though traditional laser cutting can be expensive […]
Read more› -

How to Install Wall Decals
[…] the liner, being careful to not pull the decal away from the install surface. Step 3 Set your decal back to your marks. Or with the top edge of the decal already in place, use a hand applicator to smooth the top edge down and out from the center. A credit/debit card can be […]
Read more› -
How to Install Window Decals
[…] will be with tape. Step 2 Peel back the liner from your decal and set the decal back to your tape marks. Step 3 With the top edge of the decal in place, use a hand applicator or credit card to smooth the top edge down and out from the center. We recommend placing […]
Read more› -
Installation Instructions
Check out these installation instructions to display your online printing products properly. How to Install Feather Flags How to Install Floor Graphics How to Install Silicone Edge Graphics (SEG) How to Install Step and Repeat Banners How to Install Tension Fabric Displays How to Install Wall Decals How to Install Window Clings How to […]
Read more› -
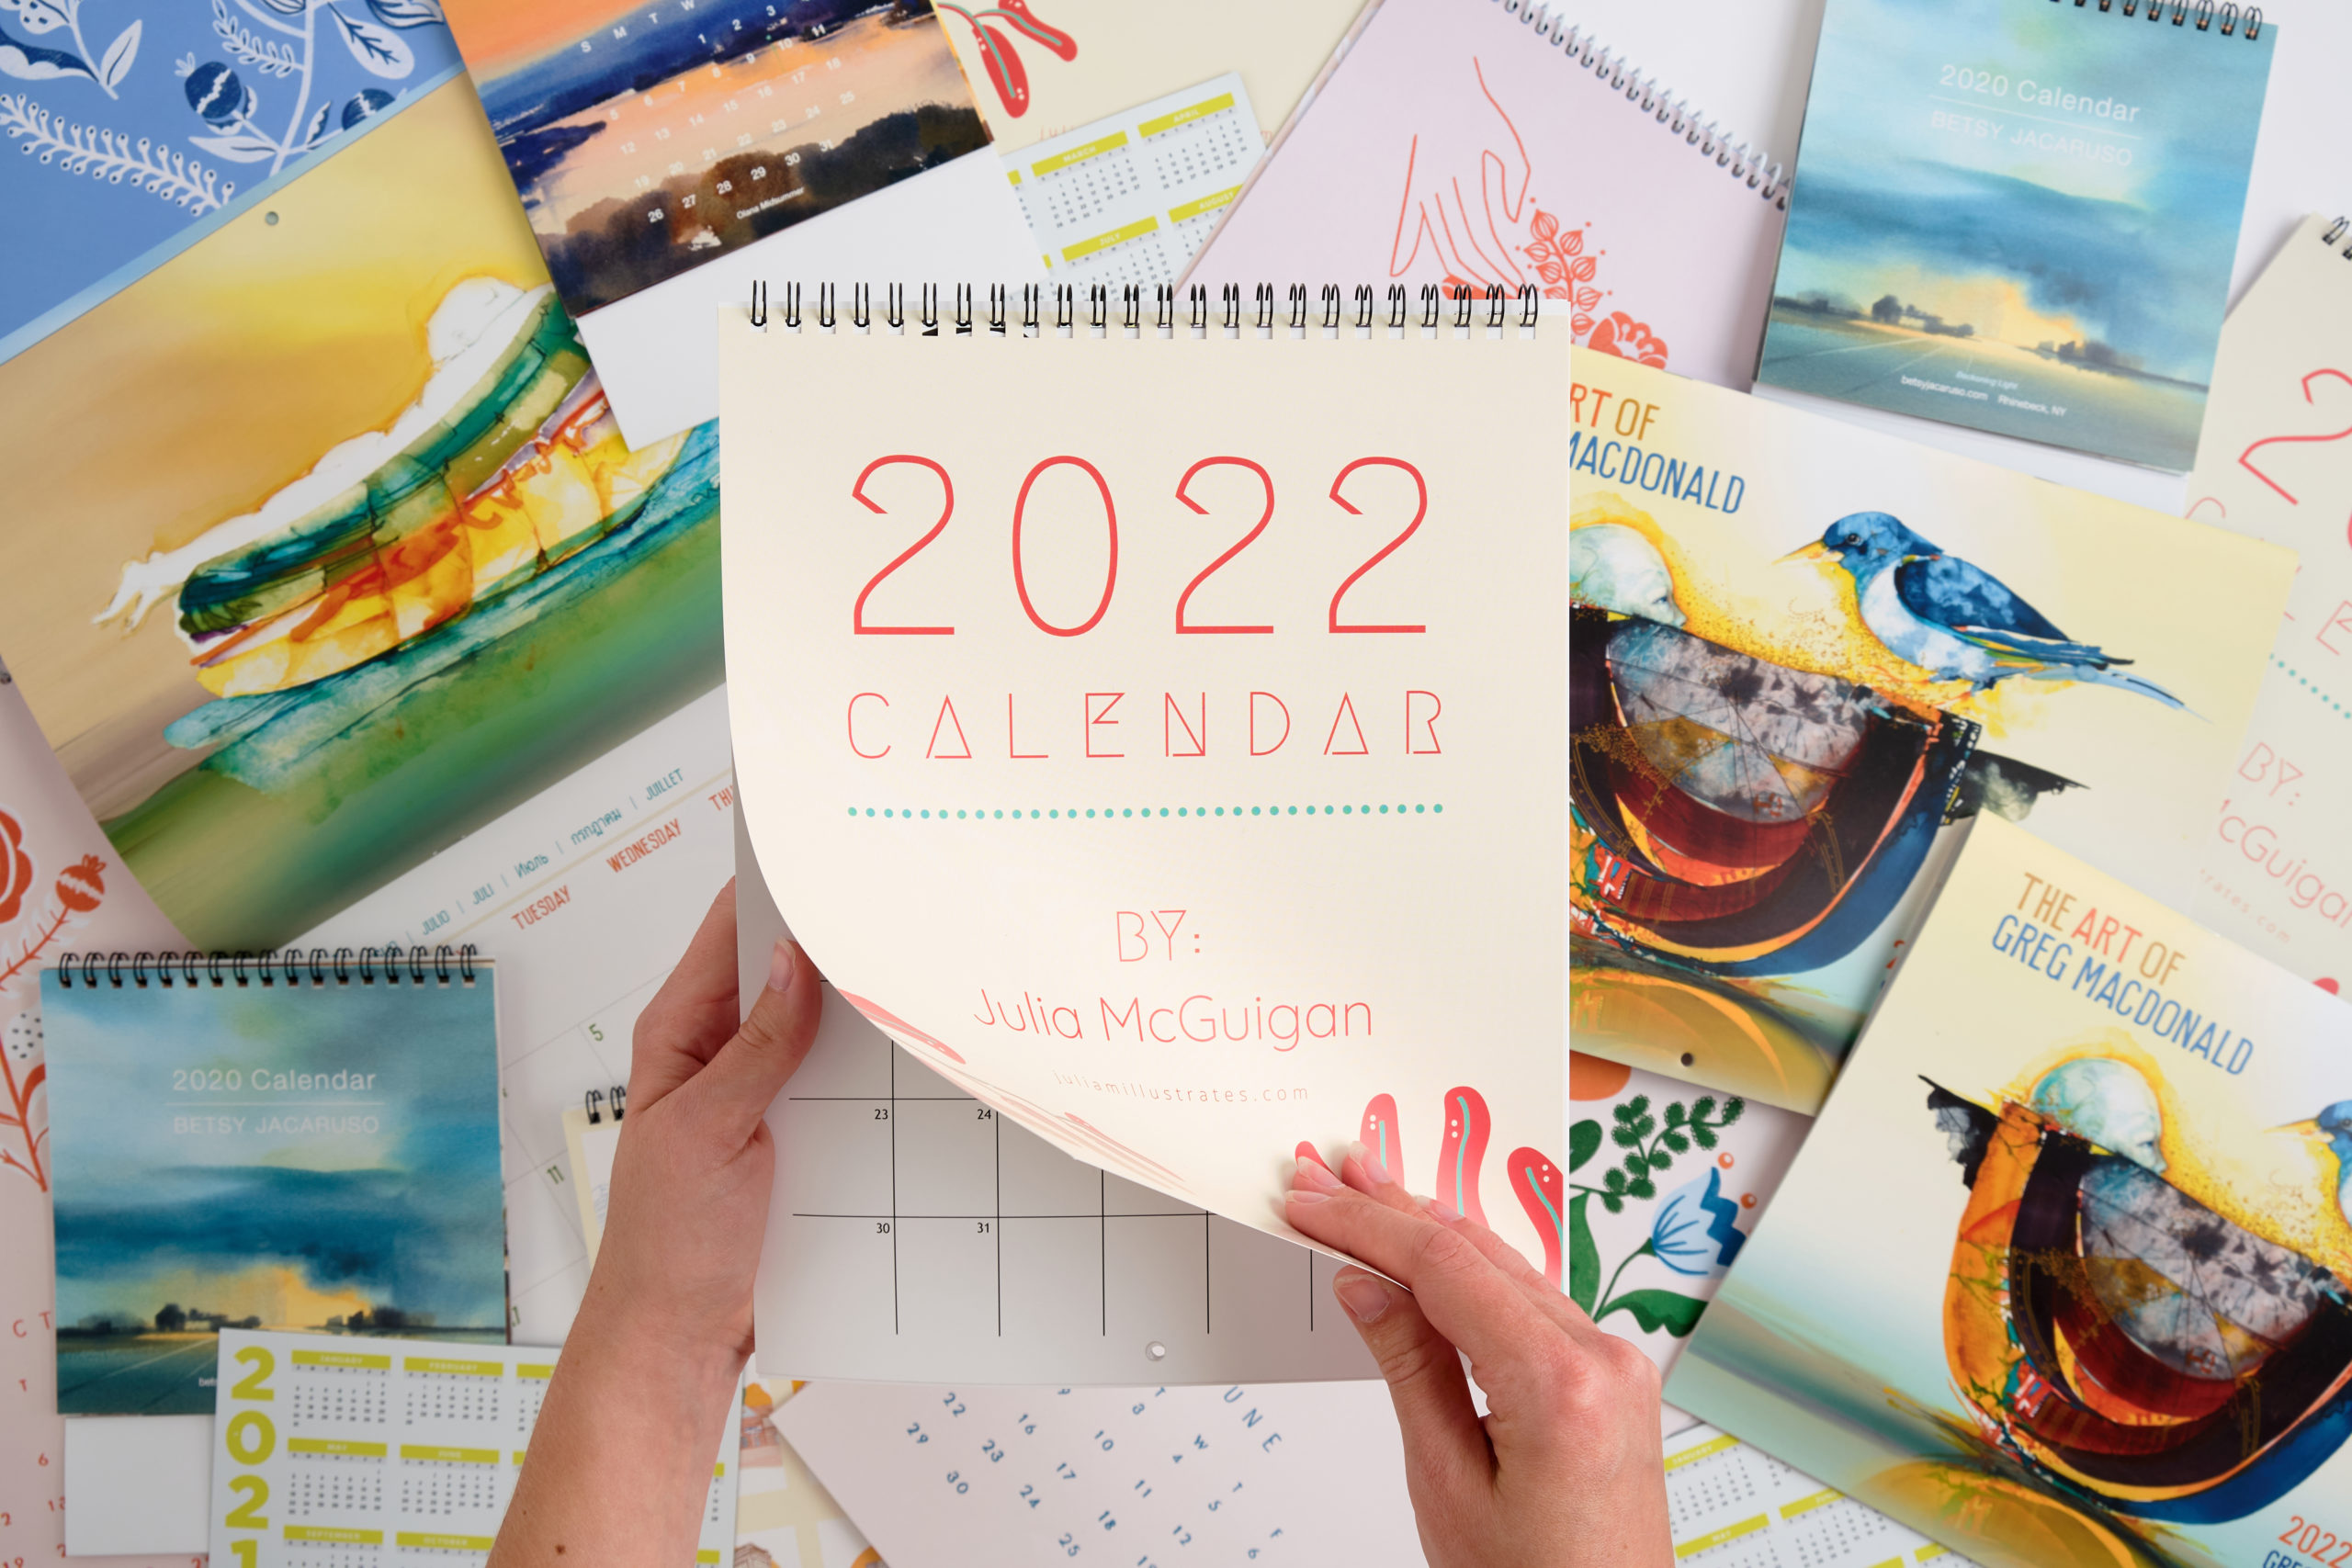
Calendar Printing FAQ
[…] alert you if they are outside our parameters. In that case, you can request a Custom Quote. Please note our spiral coil calendars have a maximum bound edge of 12″, whether left side (H) bound or top side (W) bound. How do I arrange pages for online printing? For your spiral bound calendar, please […]
Read more› -
Overlap Seams and Flush Seams for Decals
[…] butt seam, is the preferred way to install floor graphics. With a flush seam, there is no overlap between adjacent panels – they’re meant to fit together edge to edge. Pros No trip hazard for floor graphics with thicker materials. Cons Can be difficult to line panels up exactly. Should be avoided on vehicle […]
Read more› -
Browser Security Settings for Print Points
[…] If you see this error message, you may need to adjust your security settings: Find out how in this video or check out the instructions below. Microsoft Edge To change the security settings in your Microsoft Edge browser, follow the steps below. Note that changing this setting does not turn off your strict settings […]
Read more› -
Banner Materials & Sign Substrates
[…] to the material found in most art supply stores, usually called something like foam board Perfect for Zund cutting and die cutting Pillowing foamcore provides a compressed edge that stays closed when die cut or scored on the Zund cutter Applications and lifespans: POP Displays – Short-term Exhibits, kiosks – Short-term Framing – Long-term […]
Read more› -
Booklet Printing FAQ
[…] bleed? Yes. Please include an 1/8″ bleed on all four sides of the page. You’ll also want to include a 3/8″ text/image safety margin on the spine edge and a 1/4″ safety margin on all three outer edges of each interior page. Learn more: Bleeds & Borders What’s the difference between pages and sheets? […]
Read more› -
Dye Sublimation Printing
[…] 90 seconds and have a suitable polymer coating As part of our online printing services, we offer the dye sub ink process on: Tension Fabric Displays Silicone Edge Graphics (SEGs) Feather Flags Table Throws Projects via Custom Quote, such as: Fabric banners Fabric backdrops Aluminum metal prints Tips & Tricks Keep important text or […]
Read more› -
Raised UV Printing FAQ
[…] your print piece cannot have full bleed. However, your artwork file must include a 0.125″ bleed that’s necessary for production. Bleed is printing that goes beyond the edge of your piece after trimming. If bleed is not included in your document setup, there’s a good chance there’ll be a gap between the edge of […]
Read more› -
Postcard Marks, Smudges & Scratches
[…] to occur on the front of a postcard. Keep critical, highly-specified information on the address side of self-mailers. Marking usually occurs 1″ to 3″ from the bottom edge since this is where the friction roller touches each piece, as it’s fed into the sorters – try to avoid heavy ink coverage or large solids […]
Read more› -
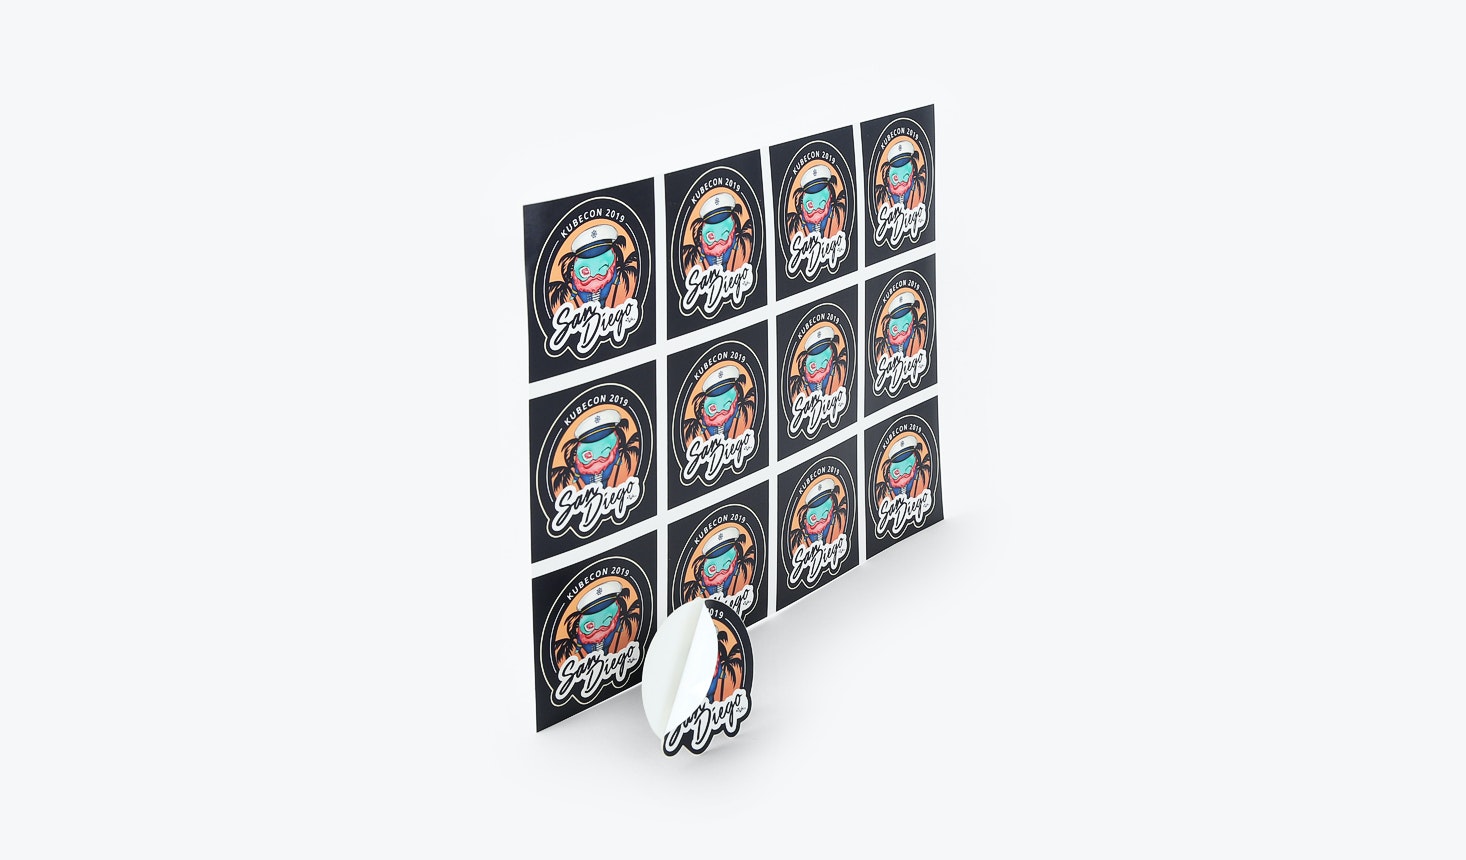
Sticker Printing FAQ
[…] your sticker. Sheet: Multiple Designs: Enter the finished size of your sheet of stickers. Note: If you wish the printing on your job to “bleed” off the edge of the page, you will need to make the page size larger than your final document size and include crop and bleed. Learn more: Bleed & […]
Read more› -
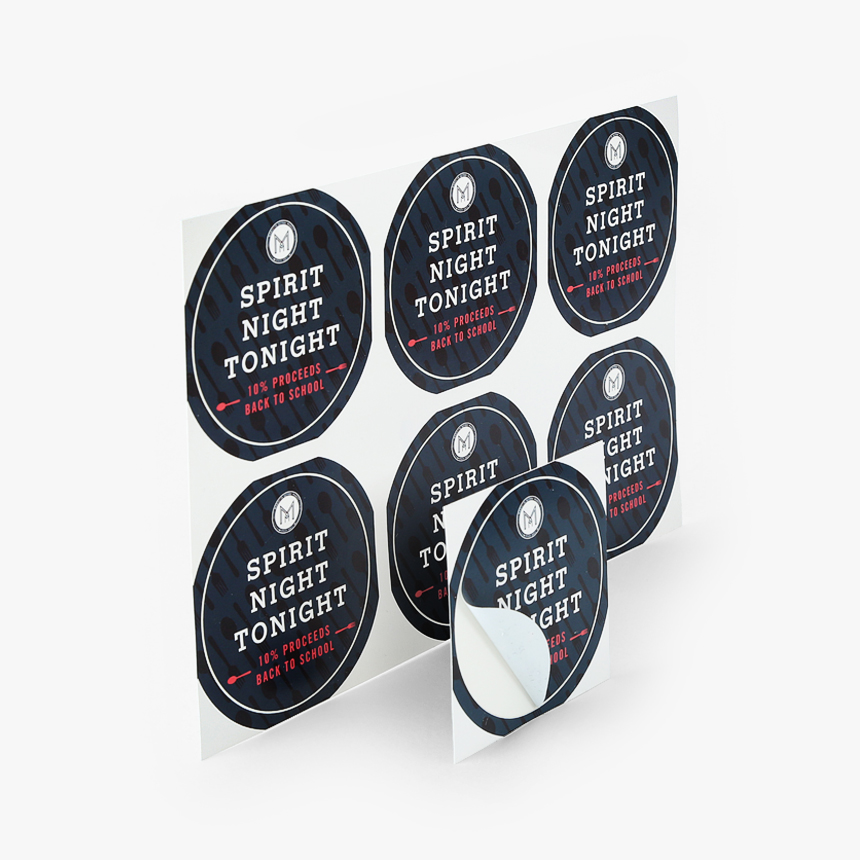
Decal Printing FAQ
[…] your decal. Sheet: Multiple Designs: Enter the finished size of your sheet of decals. Note: If you wish the printing on your job to “bleed” off the edge of the page, you will need to make the page size larger than your final document size and include crop and bleed. Learn more: Bleed & […]
Read more› -

Fabric Backdrops vs. Vinyl Backdrops
[…] stand Hanging banners can be hung from the ceiling or a display stand (in an indoor setting) We offer fabric on the following products: Feather Flags Silicone Edge Graphics (SEGs) Tension Fabric Displays And more via Custom Quote Tips & Tricks We recommend an image resolution of 150 PPI or greater for artwork Ideal […]
Read more› -
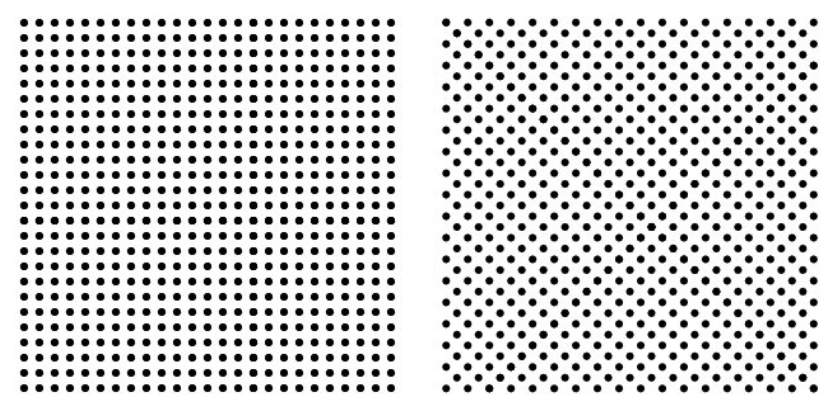
Dot Patterns
[…] images that contain a series of dots in specific patterns and these patterns simulate shades of gray. Smartpress’ small format digital printing presses are at the cutting edge of technology, achieving 1600 DPI resolution, surpassing the quality of offset printing. This provides optimal smoothness on photo and high-end commercial applications. Halftone Dot Patterns It’s […]
Read more› -

Ink Technology: Aqueous, Latex, UV Ink and More
[…] white ink. This allows us to print to clear, metallic and colored medias while still achieving a pleasing color, like white substrate prints with colored backs and edges or translucent and special effect prints. UV inks consist of water, pigment and a photo-initiator to enable curing at high speeds with UV radiation generated by […]
Read more› -
Large Format File Setup
[…] file setup will include choosing installation options like grommets, pole pockets and stitched hems. Be sure to leave at least a few inches of space along the edges to accommodate the hanging hardware. For banners larger than 200”, you’ll want to set them up at 50% of the final size. When ordering, select the […]
Read more› -

How to Save Your PDF
There are many ways to create and save a PDF file, but not all of them work well for professional online printing. How you create it can dramatically alter the quality of your printing. To ensure the best possible print quality at Smartpress, see how to create your file and then how to save your […]
Read more› -
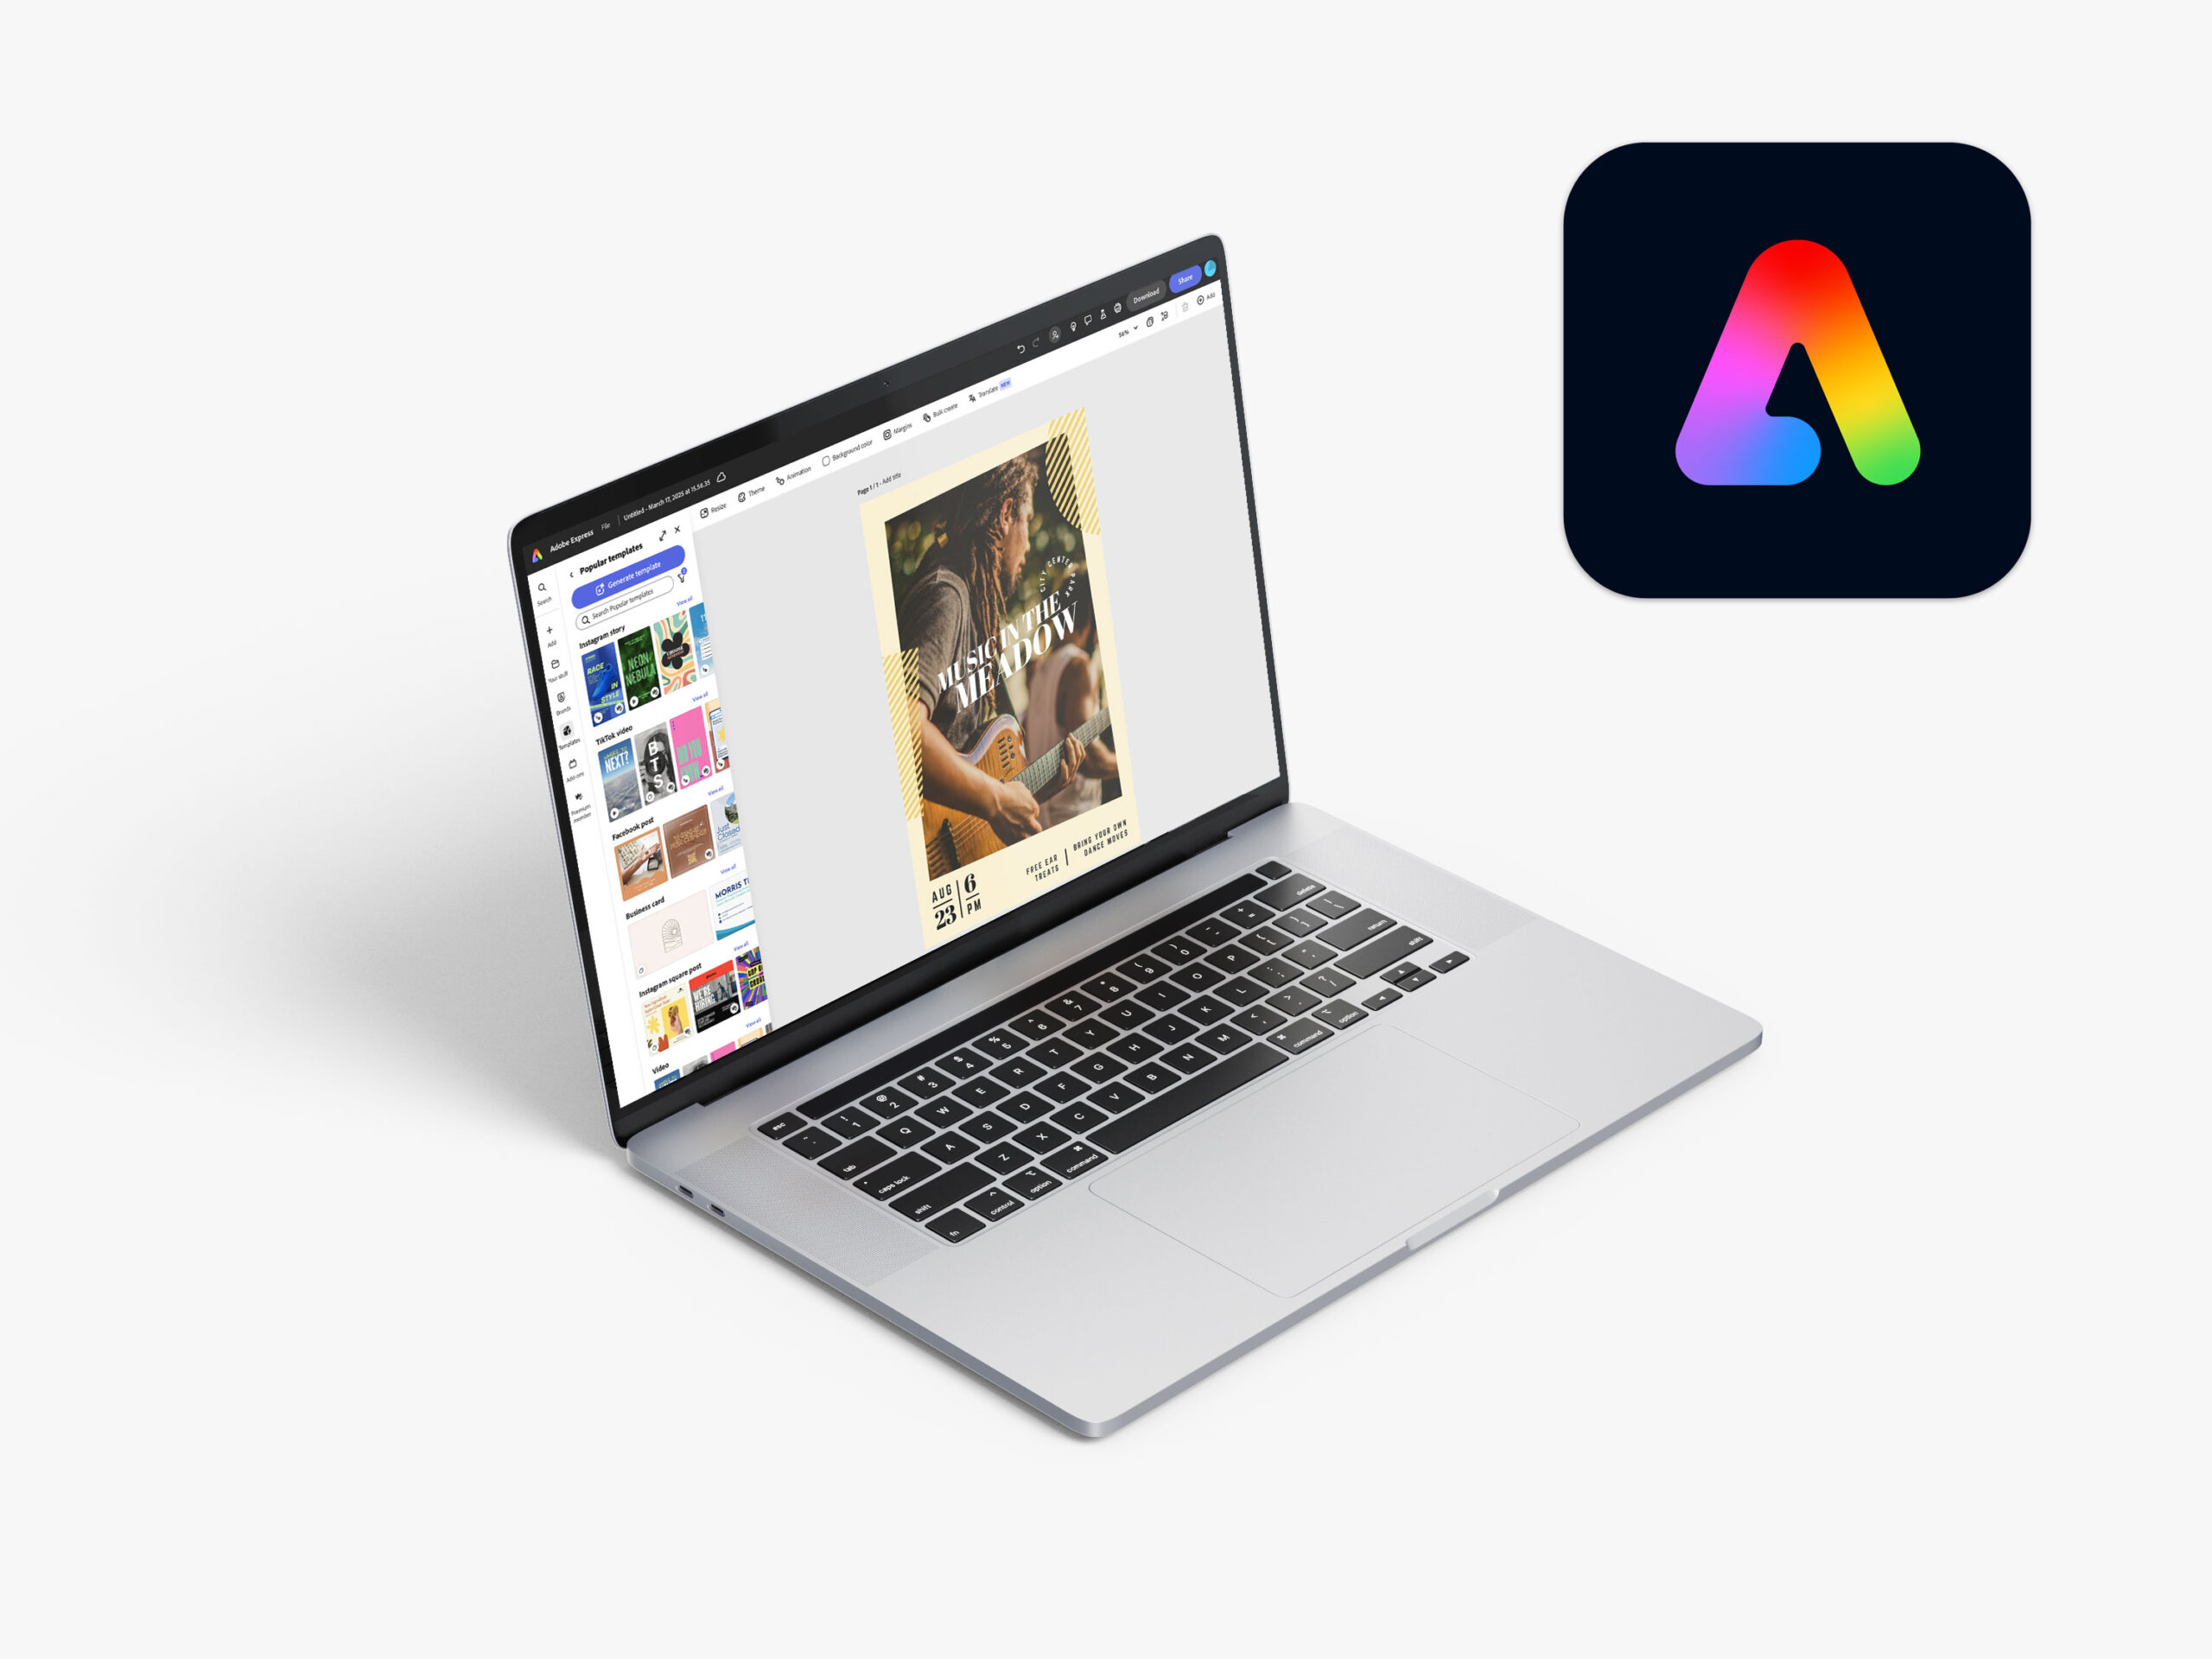
How to Use & Print From Adobe Express
[…] every side of the document. Margins Use margins, and keep the text and design elements you want to be visible in the final print away from the edge of your Adobe Express page – they could get cut off when printed! To view margins in your document, just click on Margins in the top […]
Read more› -
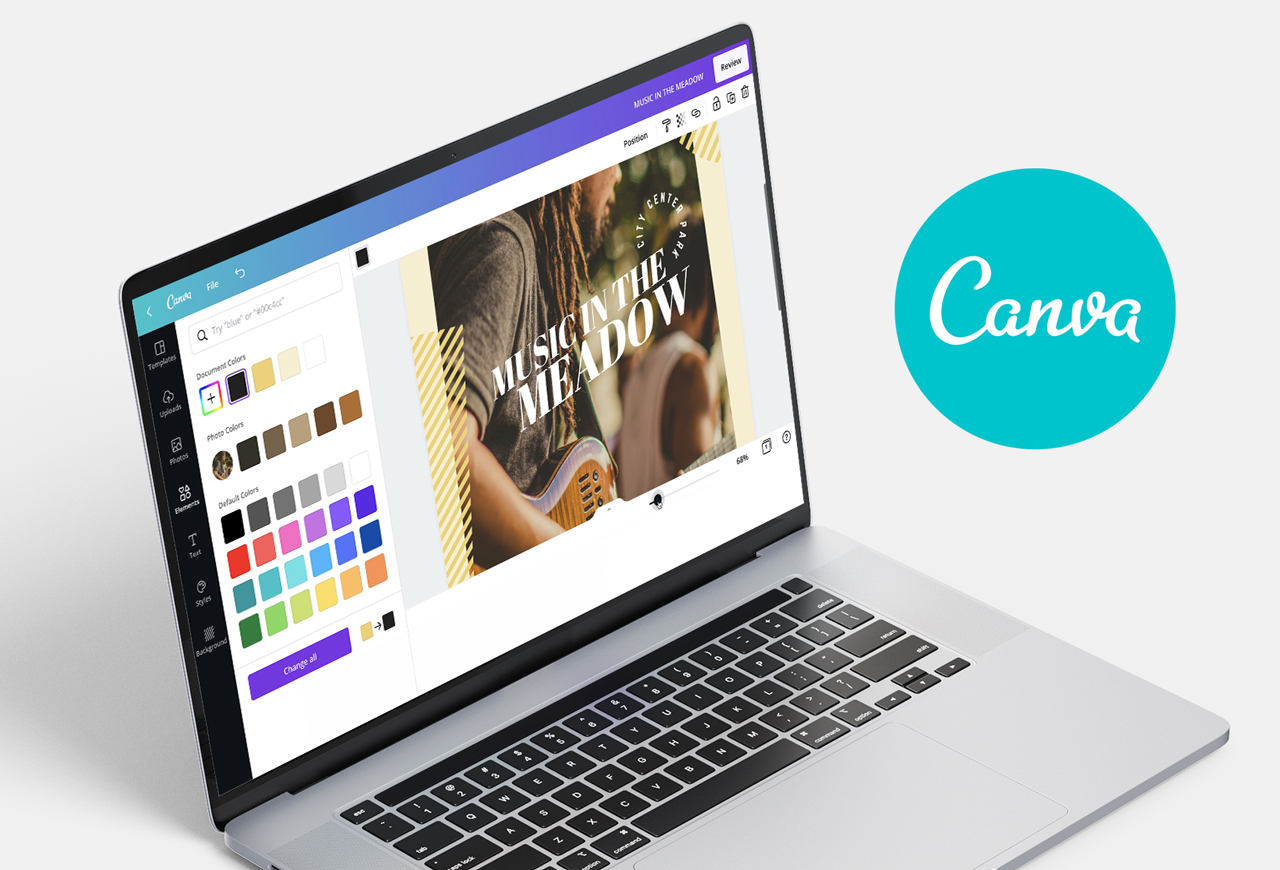
How to Use Canva for Print
Designing with Canva is a great option for anyone new to design. Because of the thousands of images, graphics and design elements you simply drag and drop into Canva templates, creating marketing assets and personal projects with this platform is easy. Below, you’ll find out how to use Canva to create print designs and get […]
Read more› -
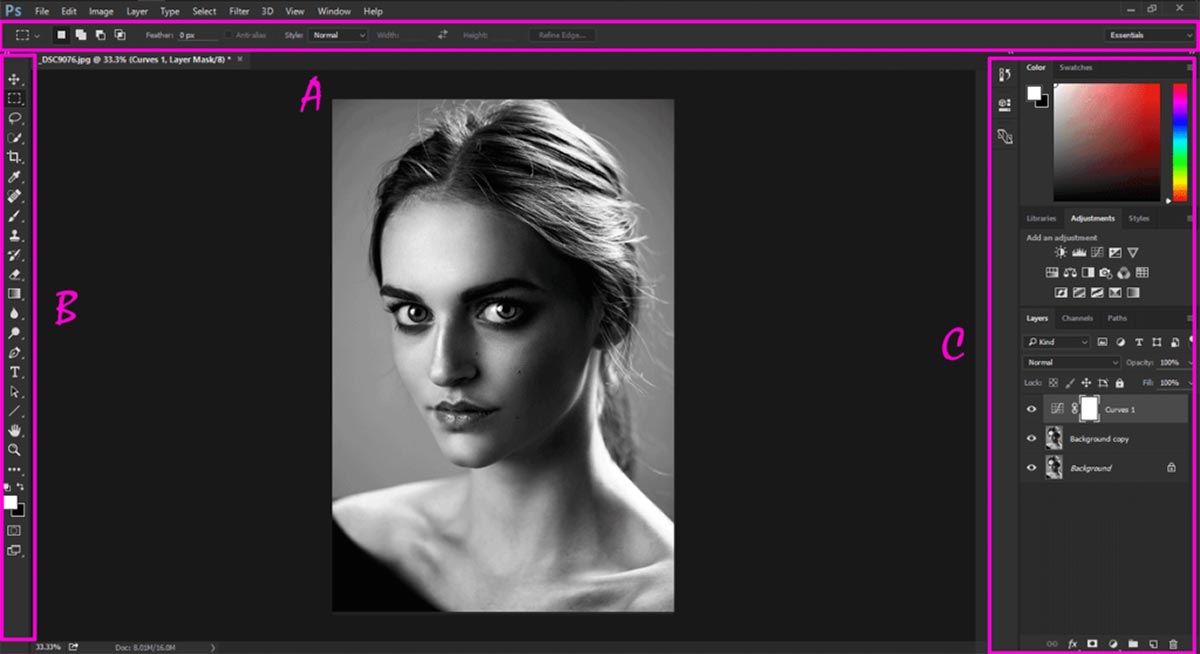
Graphic Design Tips for Beginners
[…] by making manual line breaks. Vertical Design elements are lined up with the top, bottom or both margins. Great for a specific design or an entire page. Edge Elements are lined up with each other’s top, bottom or side edges. This option is not affected by the page margin. Center Elements are aligned along […]
Read more› -
Common Print Problems & How to Solve Them
[…] especially noticeable in pieces that have a border. To avoid your artwork being trimmed off, we recommend removing the border, positioning it at least 1/4” from the edge or making it thicker. Scratches While we take care when producing and packing your order for shipment, scratches can sometimes appear on your prints. This is […]
Read more› -
How to Print with Crossover
[…] Because of how the spine is constructed, the hinge (or pivot point) between the inside cover and the first text page is generally 1/4″ away from the edge. If a critical crossover is used with a perfect binding, compensation will need to be made to the file in order for them to not be […]
Read more›
Filter Results By:
Showing 37 out of 37 results