How to Install Silicone Edge Graphics (SEG)
Silicone edge graphics (SEG) add stunning imagery to your office, work-from-home space, retail environment and trade show booths. Once you’ve designed yours with our online printing services, installation takes no time at all. Follow these simple steps to learn how to install silicone edge graphics:
Frame Assembly

Step 1: Lay out the frame pieces with the flat side down, forming the shape of the finished frame.
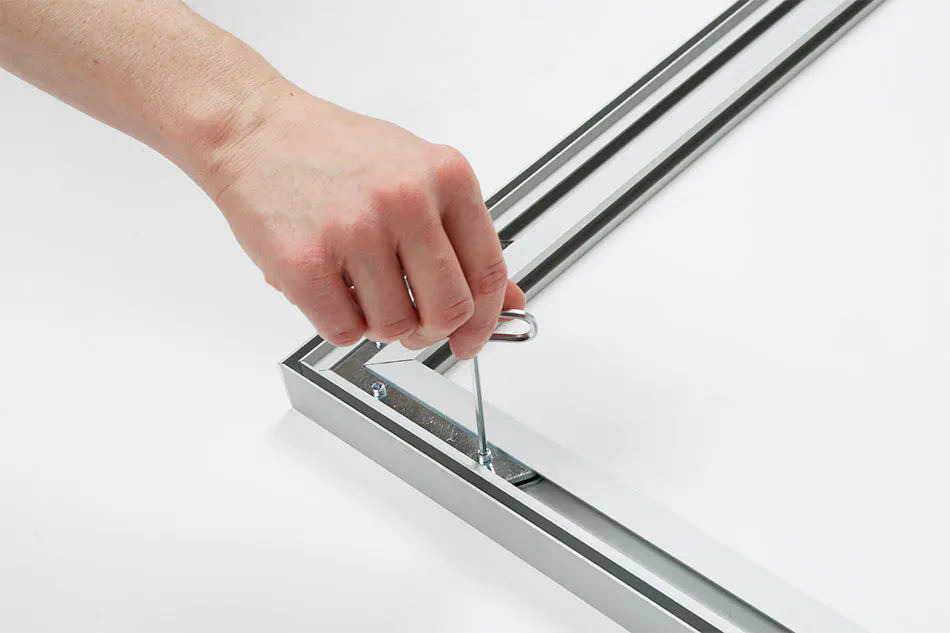
Step 2: Pair a flat corner bracket and an adjustable corner bracket with the screw inserts pointing up.
Step 3: Insert a paired bracket into the inner channel of the frame to form a 90° angle. Repeat this process for the remaining frame pieces.
Step 4: With the full frame loosely assembled, slightly tighten the screws to secure the connection one corner at a time, while keeping the frame square.
Step 5: Once the four sides are in place, completely tighten the bracket screws to secure the frame together.
Mounting Installation

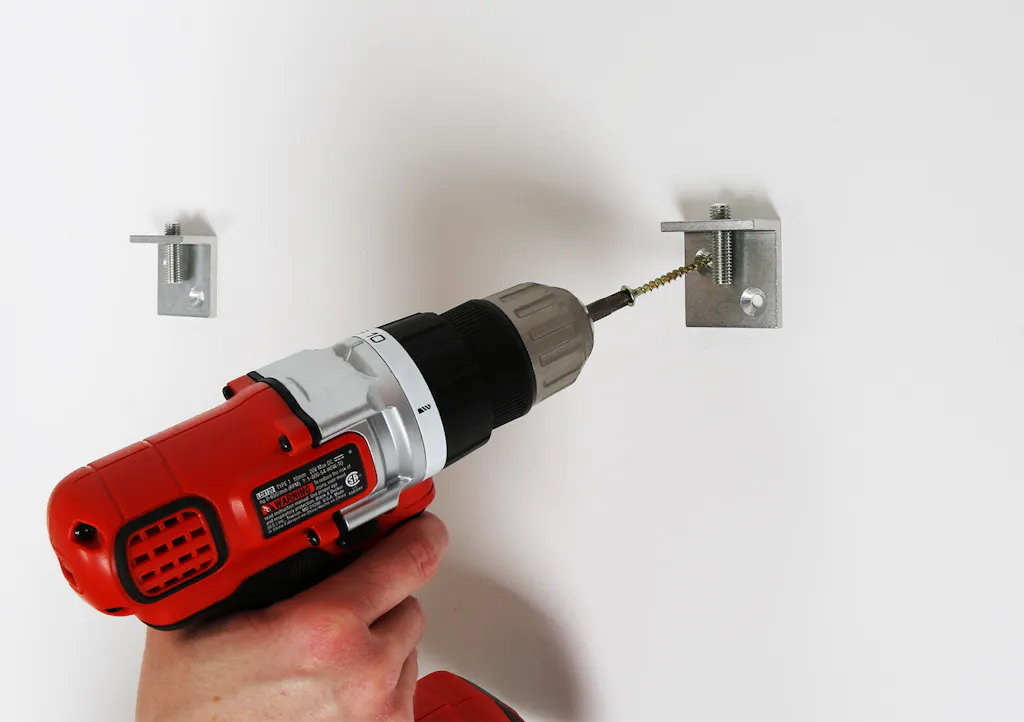
Step 1: Adjust each mounting bracket screw so it extends approximately a 1/4″ above the bracket.
Step 2: Measure the height of the top frame piece.
Step 3: Place one mounting bracket on the wall to support the upper corner of the frame, with the short L side of the bracket facing upward. The bracket placement should account for the height of the top frame piece and allow the bracket to be comfortably inset from the side frame piece.
Step 4: Attach the bracket to the wall.
Step 5: Hang the corner of the frame on the mounted bracket. Place a second bracket on the wall to support the opposite frame corner, and move it until the frame is level.
Step 6: Attach the second bracket to the wall. If necessary, adjust the screws to further level the frame.
Step 7: When the frame is level, install the bottom two mounting brackets to secure the frame to the wall.
Graphic Installation

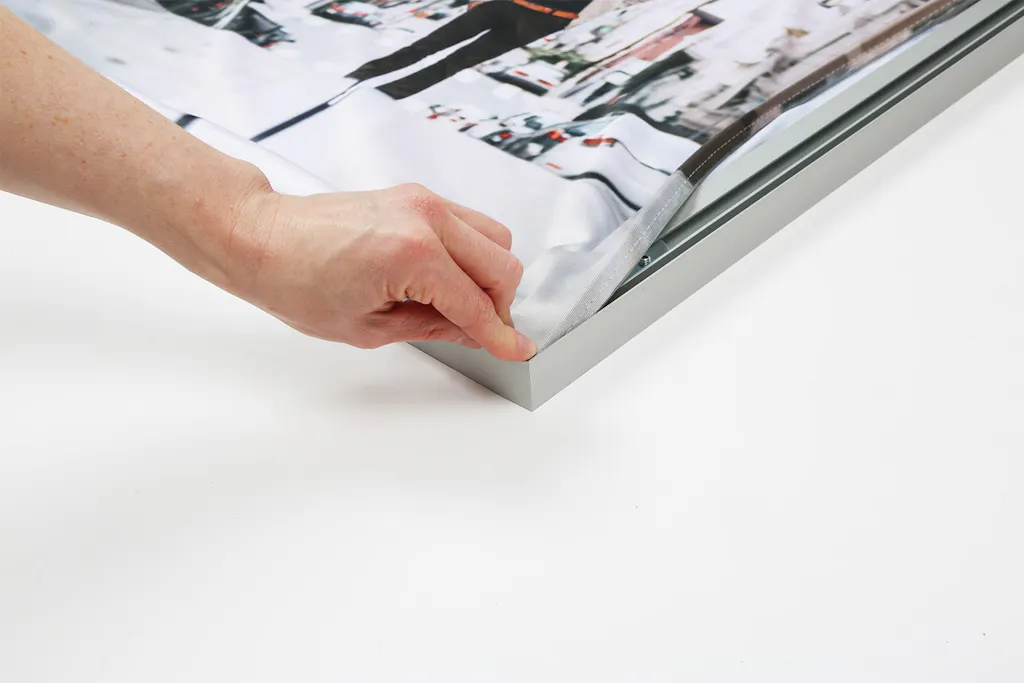
Step 1: Insert the silicone edge into the recessed groove at each corner of the frame.
Step 2: Once the corners are in place, begin working in the sides. We recommend beginning at the center of each side. Continue inserting the remaining edges around the frame until the graphic is taught.
Step 3: Make sure to leave the tab out for easy graphic removal and replacement.
Optional: Remove and Replace Your Graphic
Step 1: Find the tab on the graphic and pull it to remove the fabric from the frame.
Step 2: Install your replacement graphic with the instructions in step three.
If you have any additional questions about how to install silicone edge graphics or online printing with Smartpress, check out our Silicone Edge Graphics FAQ or please contact our customer service.

