How to Install Wall Decals
Wall Decal Installation Guide
Whether you design them for promotion, decor or directional signage, custom Wall Decals make great marketing assets for any business or industry. Adhesive-backed, our vinyl decals can be applied to smooth interior walls and glass surfaces. After you’ve finished online printing and are ready to apply your vinyl stickers, continue reading this article or watch this video to learn how to install wall decals:
Before Installing Your Wall Decals
These instructions are intended for the dry application of both one-sided and two-sided wall decals.
- Temperature may impact the installation process. We recommend installing graphics in temperatures between 40-90° F for optimal adhesion.
- If your graphics are larger than 18” x 24”, have a complex design, overlap, are tiled or simply a difficult undertaking, we recommend considering hiring a professional installer.
What Tools Do I Need to Install Wall Decals?
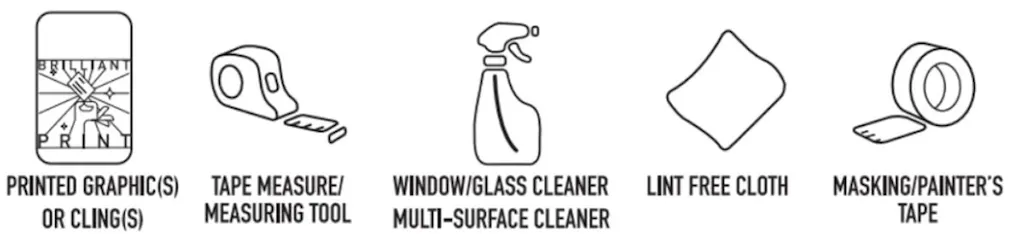
Not all of these tools are necessary. What you need may vary, depending on the install method you choose and the level of difficulty.
- Printed wall graphics
- Tape measure or measuring tool
- Multi-surface cleaner and a lint-free cloth
- Masking tape or painter’s tape
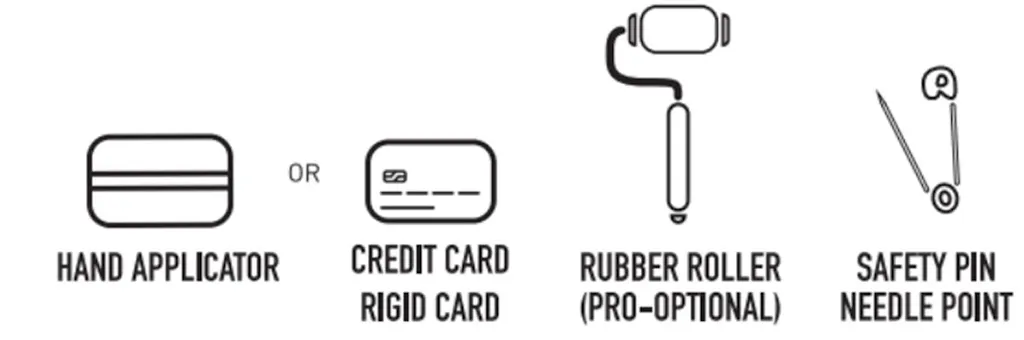
- Hand applicator or a credit/debit card
- Rubber roller
- Safety pin
How Do I Prep My Wall for Decal Installation?
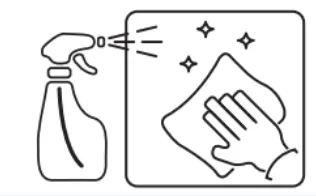
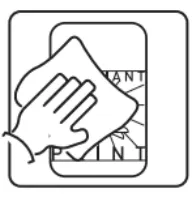
A clean surface is essential to the installation of any adhesive graphic. Use a multi-purpose cleaner to thoroughly clean the surface free of any dirt, dust, grease or other debris that may affect the adhesion process.
Smartpress Tip: Do a final wipe down with water and a lint-free cloth to clear any other matter or chemicals from the cleaners that could also affect adhesion.
If you have access to Iso-propyl alcohol (IPA), a final wipe down with this is more favorable than water, but not necessary.
How to Install Wall Decals in 5 Simple Steps
Step 1: Locate Your Desired Decal Position
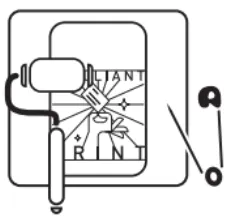
With the surface of the application ready, find the center of your printed decal. Center your decal and note where the top is. You can do this either by:
Holding the graphic in place:
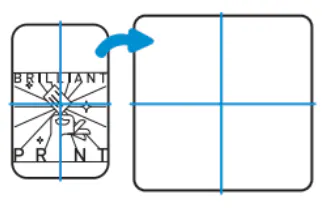
Or marking where the top of the decal will be with tape:
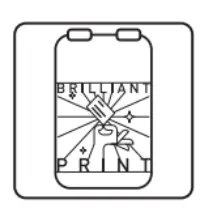
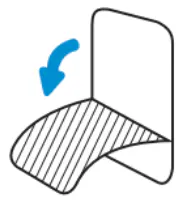
Step 2: Peel Off the Liner
If you’ve marked the top of your decal with tape (away from the installation surface), peel back the release liner from the decal.

If you’ve taped your decal to the surface, peel back a corner, lift the decal up from the bottom and remove the rest of the liner, being careful to not pull the decal away from the install surface.
Step 3: Stick Your Decal to the Wall and Smooth the Edges
Set your decal back to your marks. Or with the top edge of the decal already in place, use a hand applicator to smooth the top edge down and out from the center. A credit/debit card can be used for this.
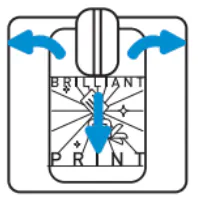
We also recommend placing a piece of masking or painter’s tape at the edge of the applicator to minimize the risk of scratching the decal.
Step 4: Smooth Out Any Air Bubbles
After smoothing your decal, use a rubber roller (if you have one) and roll across it to press out any air bubbles. This will create a better seal to the surface.
Smartpress Tip: If air bubbles persist, use a pin and poke a hole in any that stand out to release the air.
If there are too many bubbles, you may have to peel back the decal and redo the smoothing process.
Step 5: Remove Residue
Wipe away any water residue from the smoothing process.
Since these are adhesive-backed decals, adhesion will take place immediately.

Installing window clings, decals or SEGs? Apply them easily with the simple steps on our Installation Instructions page. If you have any questions about how to install wall decals or any of our online printing services, check out our wall decals FAQ or please contact customer service.