How to Use & Print From Adobe Express
If you’re new to graphic design, learning how to create and print from Adobe Express is a great option. Whether you use Adobe Express’ templates or your own to create marketing assets and branded collateral, it’s an easy platform to work within. Below, you’ll find out how to use Adobe Express to create print designs and then export them to be printed at Smartpress.
How to Print on Adobe Express
Before you begin designing with Adobe Express and using Smartpress as your online print shop, let’s go over document setup, design settings and more.
Document Setup for Print
Adobe Express has a helpful video that walks you through just how to set up and prepare your document so it’s ready to print online with Smartpress. Take a look below:
Export Adobe Express Designs for Print
The video above about how to set up documents in Adobe Express walks you through the process for exporting your file. But as an online printer that’s focused on our customers, we want you to pay attention to a couple things in particular, so you save your design in the print-ready format needed to upload at Smartpress.
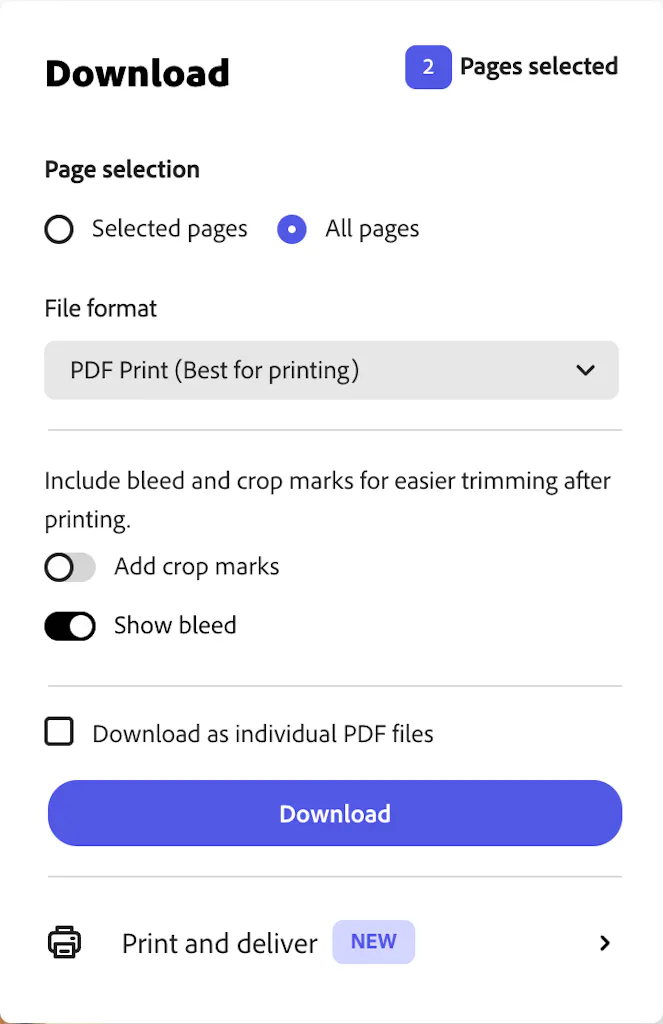
If You Use an Adobe Express Template
- Click on the Download icon.

- In the Download panel, select the following:
- All Pages
- PDF Print (Best for printing)
- Show Bleed
- Click on the Download button.
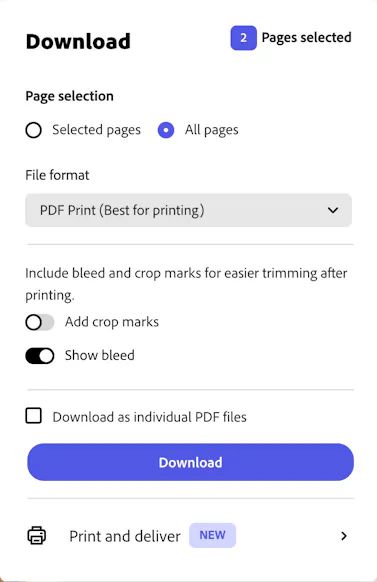
If You Use Your Own Custom Template
- Click on the Download button.

- In the Download panel, select the following:
- All Pages
- PDF Print (Best for printing)
- Show Bleed
- Click on the Download button.
Once you hit the Download button, your PDF will save to your computer, and you can simply add it to your Smartpress shopping cart and place your order. Already placed your order? No problem! You can upload your PDF into your job files.
Design Tips for Adobe Express
If you’re a graphic design newbie, even a design platform as simple as Adobe Express can seem confusing. But fear not! We compiled a few design tips for Adobe Express to ensure your print marketing comes out perfectly every time.
Bleed Settings
Documents/projects are set up with a 1/8″ or 0.125” bleed by default – which is exactly what we require for online printing small format projects with Smartpress. You should absolutely use this setting to print in Adobe Express!
However, if you’re designing a large format print project at Smartpress (like a poster or sign), the bleed requirement is 1/4″ or 0.25”. That means you’ll have to set up your Adobe Express file with that bleed amount added to the overall size of your file. Bottom line? Your Adobe Express file should be your final print size plus the bleed on every side of the document.
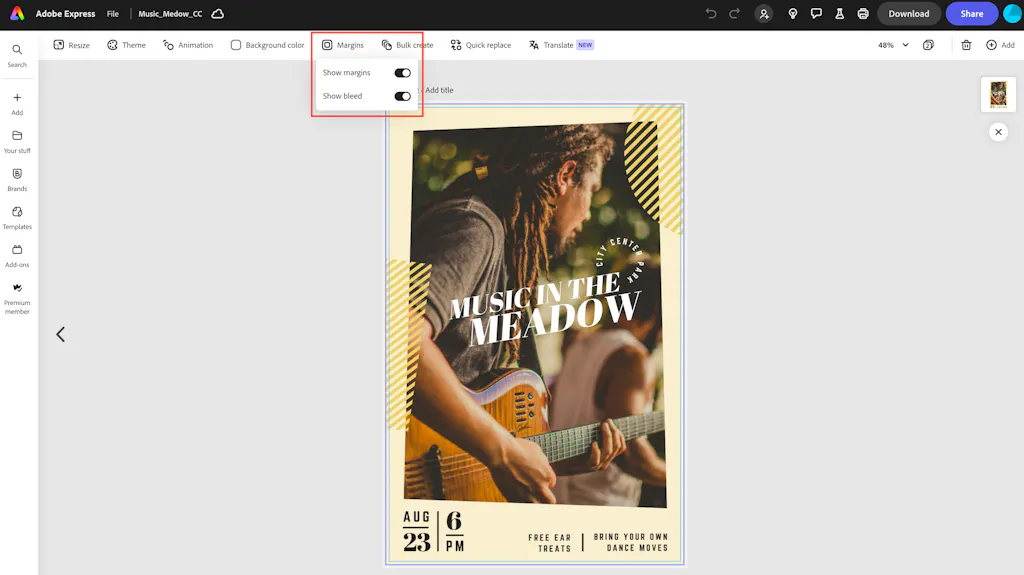
Margins
Use margins, and keep the text and design elements you want to be visible in the final print away from the edge of your Adobe Express page – they could get cut off when printed!
To view margins in your document, just click on Margins in the top navigation and toggle Show Margins on. To print your project at Smartpress, we recommend a minimum margin of 1/4″ or 0.25”.
Fonts
For fonts, the main question is, “Are they big enough?” When you design on a screen, the size of your elements can be misleading, so be sure to give your file one final look at 100% zoom in Adobe Express to see if everything is legible.
Use Adobe Express for Print
And just like that, you’ve learned how to use Adobe Express for print. All that’s left is to upload your design file to Smartpress! If you have any questions about print products, setting up your file or any of our online printing services, feel free to contact customer service to chat with our print experts.
-
Graphic Design Tips for Beginners
Designing greeting cards, custom booklets and direct mail for online printing can be intimidating, but it doesn’t have to be. If you’re new to design, begin here with our graphic design tips for beginners. No matter your project or level of experience, Smartpress simplifies the process with our easy online ordering platform and a team […]
Read more› -
Online Printing for the First Time
Online printing for the first time? New to printing and not sure where to begin? As a world-class online printer, Smartpress has all the tools to help you design the perfect booklet, calendar or business card and learn all the printing lingo along the way. We’ve compiled some essential articles to guide you from idea […]
Read more› -
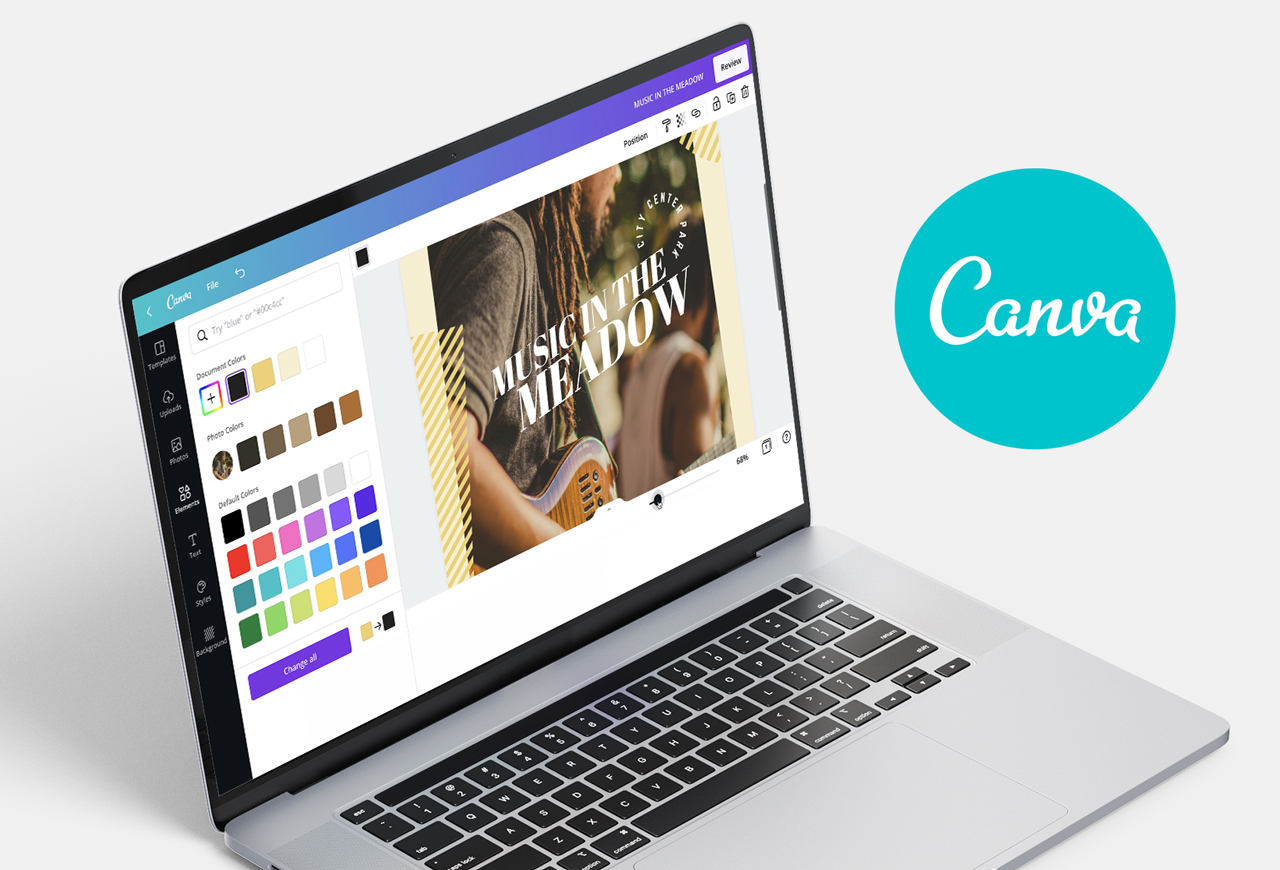
How to Use Canva for Print
How Do I Design Print-Ready Files in Canva? Designing with Canva is a great option for anyone new to design. Because of the thousands of images, graphics and design elements you simply drag and drop into Canva templates, creating marketing assets and personal projects with this platform is easy. Below, you’ll find out how to […]
Read more›