Overlap Seams and Flush Seams for Decals
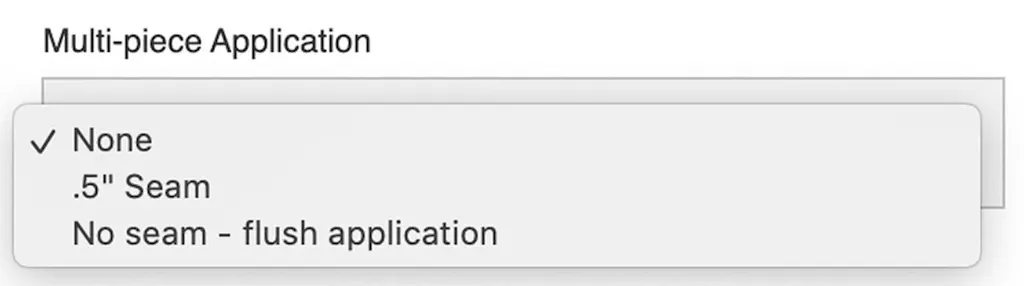
Designing Wall Decals or custom Floor Graphics with multiple pieces? As you submit your print-ready files for online printing, you’ll need to decide what kind of seam you’d like. As a premium online printer, Smartpress offers overlap seams and flush seams.
An important element of floor and wall decal installation, the right seam creates the right look. Check out the pros and cons of each before placing your order.
Overlap Seams
The most common way to install wall graphics is with an overlap seam, where two adjacent panels fit together and one overlaps the other by a specified amount. This amount can be anywhere from 1/4” to 1”, with 1/2” being the most common.
It’s also important to note that a multi-piece design is not necessarily the same as a tiled design. While both have more than one piece, multi-piece can mean various decals that are applied independent of each other, while tiled refers to pieces or panels applied with overlapping seams.
Pros
- Easy to line up the panels.
- A durable installation option.
- Better peel-resistant (a big advantage since the substrates used for wall graphics are usually thinner than those used for other types of graphics).
Cons
Can be a trip hazard for floor graphics with thicker materials.
Flush Seams
A flush seam, or more commonly called a butt seam, is the preferred way to install floor graphics. With a flush seam, there is no overlap between adjacent panels – they’re meant to fit together edge to edge.
Pros
No trip hazard for floor graphics with thicker materials.
Cons
- Can be difficult to line panels up exactly.
- Should be avoided on vehicle graphics, since the panels can catch the air when moving and cause peeling, and if not perfectly butted together, catches excess dirt and may appear as dark lines.
Seams and Print-Ready Files
As you prepare your print-ready files, it’s important to remember the following:
- Typical panel sizes do not exceed 50”W.
- Design your content and artwork with that in mind, knowing you’ll have a seam every 50”.
Tips & Tricks
- With either seam choice, we highly recommend hiring a professional installer.
- Typically, panels are wider than they are taller (a landscape orientation). Because of this, most panels are separated by vertical seams and are roughly 50”W, with the last panel measuring smaller, depending on the overall length of your graphic.
- If preferred, we can produce all the panels at an equal size, which means they will be all less than 50”W.
- Seams can be vertical or horizontal, or both if necessary.
- A minimum of 1” bleed is required all around the perimeter of the artwork. Be sure to keep important elements at least 1” away from the final size.
- If possible, design your graphic in one piece and we will divide it into the required panels.
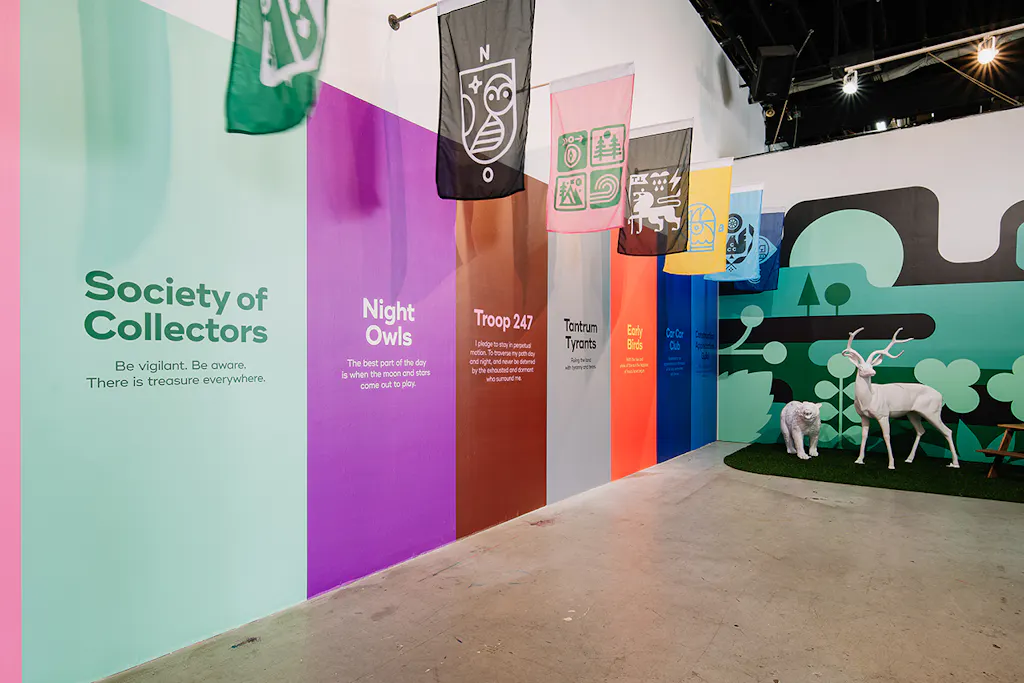
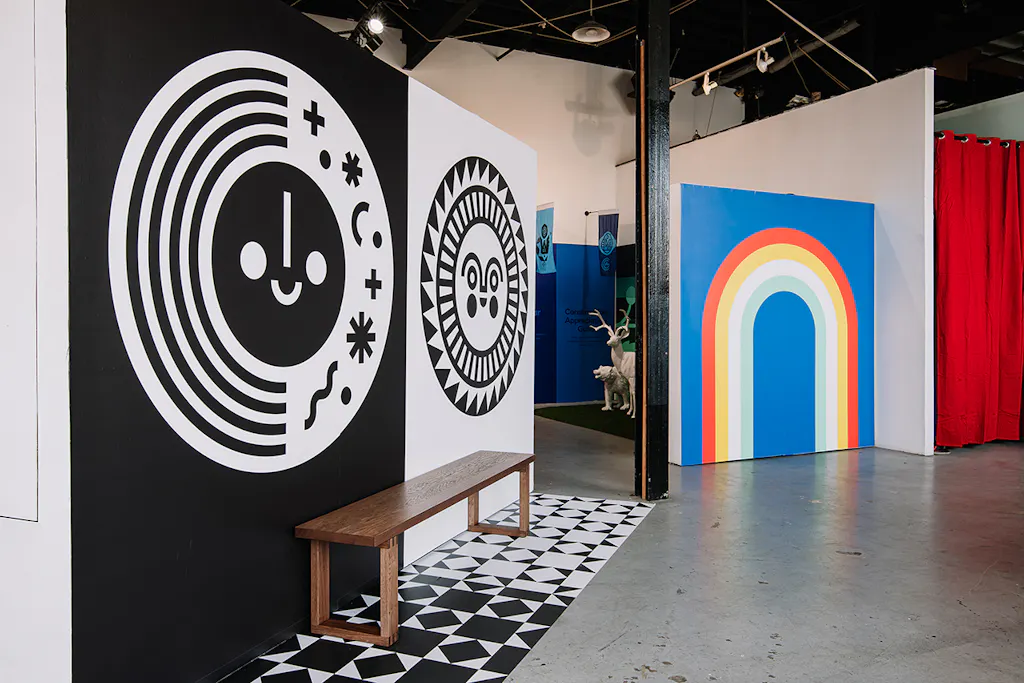
See custom wall decals in action: Custom Wall Decals: See How We Went Big (& Then DIY)
If you have any questions about how to apply wall decals or floor graphics, overlap seams, flush seams or any of our online printing services, please contact customer service.
-
How to Install Wall Decals
Wall Decal Installation Guide Whether you design them for promotion, decor or directional signage, custom Wall Decals make great marketing assets for any business or industry. Adhesive-backed, our vinyl decals can be applied to smooth interior walls and glass surfaces. After you’ve finished online printing and are ready to apply your vinyl stickers, continue reading […]
Read more› -

How to Install Floor Graphics
Floor Graphics Installation Guide Whether you design them for promotion, decor or directional signage, custom Floor Graphics make great marketing assets for any business or industry. Adhesive-backed, our floor decals can be applied to commercial-grade tile, sealed concrete, linoleum, asphalt, other similar non-porous flooring and even carpet. After you’ve finished online printing and are ready […]
Read more›