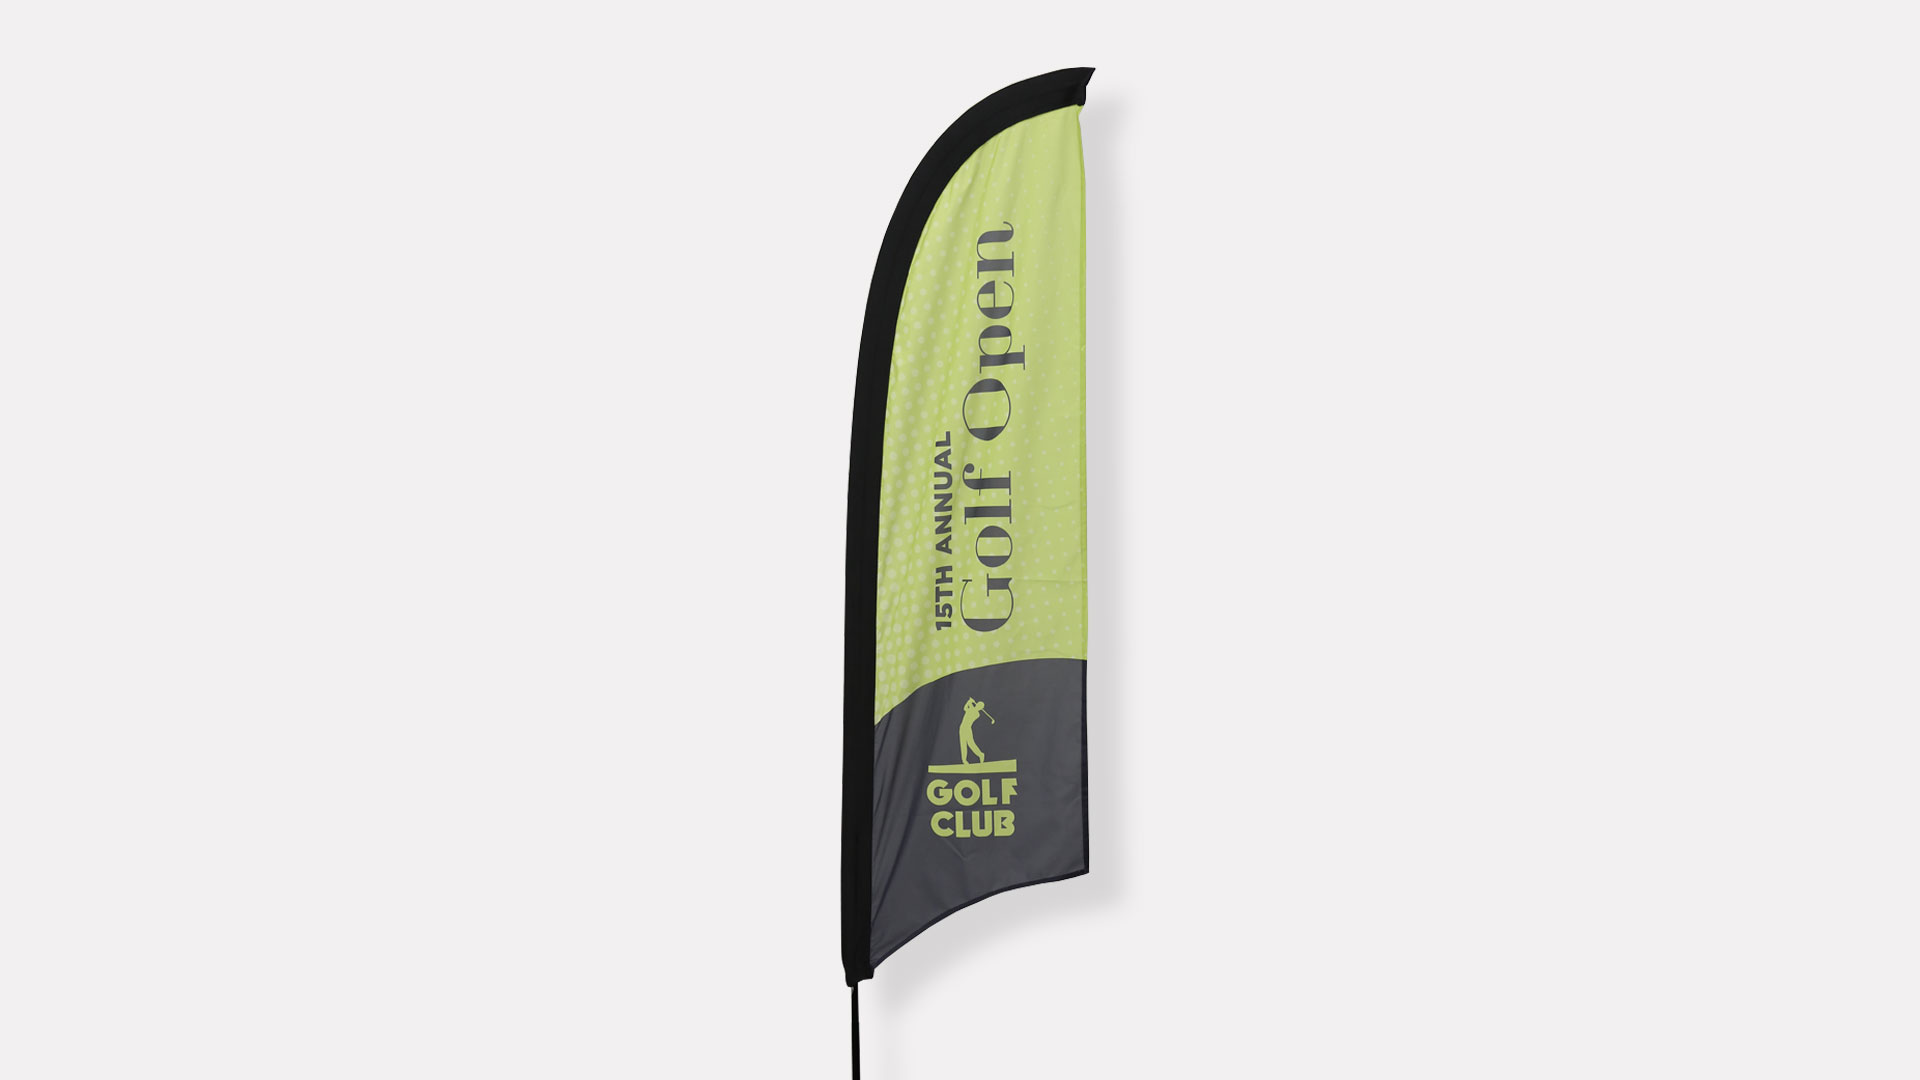
How to Install Feather Flags
Feather flags are an excellent choice for promoting your business, guiding foot traffic and announcing events. Once you’ve designed yours with our online printing services (whether razor, teardrop or sabre-shaped), check out these easy instructions for how to install feather flags:
Product Parts
- Fabric graphic
- Poles
- Elastic cord kit (A: Elastic cord, B: Ring, C: Clip)
Optional Parts
- Base (4a: Spike, 4b: 4-Leg Scissor, 4c: 3-Leg Scissor)
- Water ballast (round or square)
Feather Flag Assembly
Step 1
Lay out all of the product parts. Assemble the poles (2) together by inserting the bottom pole into the middle pole.
Step 2
Insert the top pole into the middle pole. NOTE: For 15’ and/or 17’ sabre feather flags, you will have two middle poles to insert together before inserting the top pole.
Step 3
Carefully insert the top end of the assembled poles (2) into the pole pocket of the fabric graphic (1). Push the pole (2) as far as it will go until it hits the end of the pole pocket. DO NOT FORCEFULLY PUSH THE POLE OR IT COULD SNAP.
Step 4
Remove the ring (B) from the clip (C) on the elastic cord kit (3). Connect the ring (B) to the webbing loop on the bottom end of your fabric graphic pole pockets (1).
Step 5
Put one end of the elastic cord (A) through the clip’s (C) ring. Attach the clip (C) to the ring (B).
Step 6
Using the elastic cord (A), pull the fabric graphic down the pole to create the desired shape. Knot the end of the elastic cord (A), and secure it under the pole hook located on the base of the bottom pole (2).
Optional Base: Spike (4a)
Hammer the spike base (4a) into the ground at the desired location. DO NOT hammer the shorter post. Insert the bottom of the pole (2) over the stem on the spike base (4a).
Optional Base: 4-Leg Scissor (4b)
Place the 4-leg scissor base (4b) at the desired location by extending the legs outward. Slide the bottom of the flag onto the 4-leg scissor base (4b) stem.
Optional Base: 3-Leg Scissor (4c)
Set up the 3-leg scissor base (4c) by screwing in each leg to the center stem. Slide the bottom of the flag over the 3-leg scissor base (4c) stem.
Optional Water Ballast
Place the water ballast (5) over the 4-leg scissor (4b) or 3-leg scissor base (4c) BEFORE attaching the flag. Fill the water ballast with water for stability.
Storage and Care
A soft carrying case is included when you order your feather flag with a pole and base. Place all product parts into the carrying case and store it in a cool dry location, away from direct sunlight. To clean, wipe with damp cloth. Do not iron or dry clean the feather flag.
If you have any additional questions about how to install feather flags or online printing with Smartpress, check out our Feather Flag Printing FAQ or please contact our customer service.

