How to Set Up a File for Step and Repeat Banners
Learn How to Set up a Step and Repeat Banner for Print
This article walks you through five steps for how to set up a step and repeat banner for print using Adobe InDesign. It also covers recommended logo sizes, layout tips, using the Step and Repeat function, offsetting logos for a custom look and creating safe zones to avoid stitching overlap. In order for you to learn how to set up your design file correctly, please consider the following recommendations.
Smartpress Recommendations for Step and Repeat Banner Files
- Use InDesign for file setup and design.
- For vertical logos, each logo should be a minimum size of 8″ to 10″ high.
- For horizontal logos, each logo should be a minimum size of 8″ to 10″ wide.
- To use the Step and Repeat function in InDesign, use keyboard shortcut Option + Command + U or go to Edit > Step and Repeat.
- Use guides to determine where any hem or pole pocket stitching will be on the banner – this will create a safe zone to ensure logos don’t overlap the stitching.
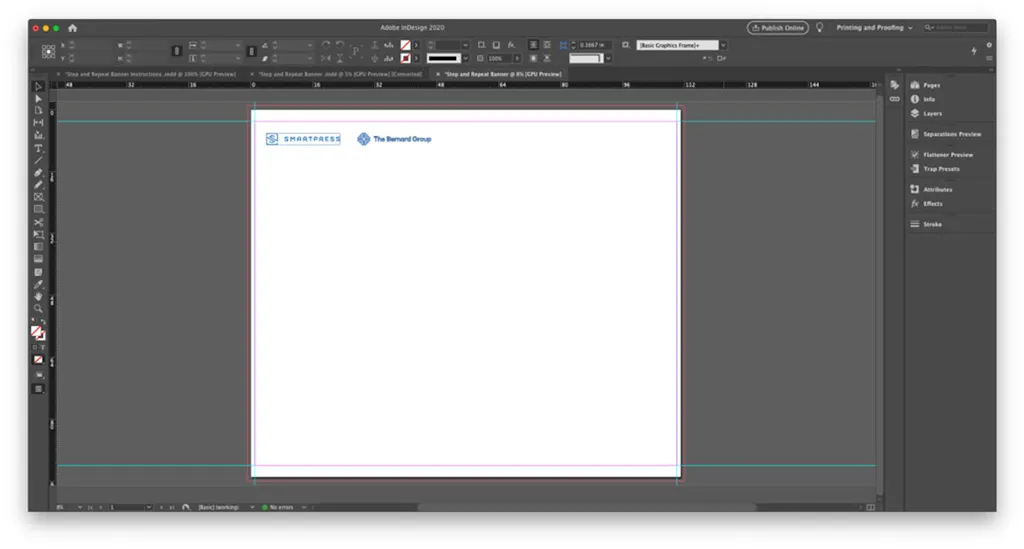
Step 1: Prepare Your File in Adobe InDesign
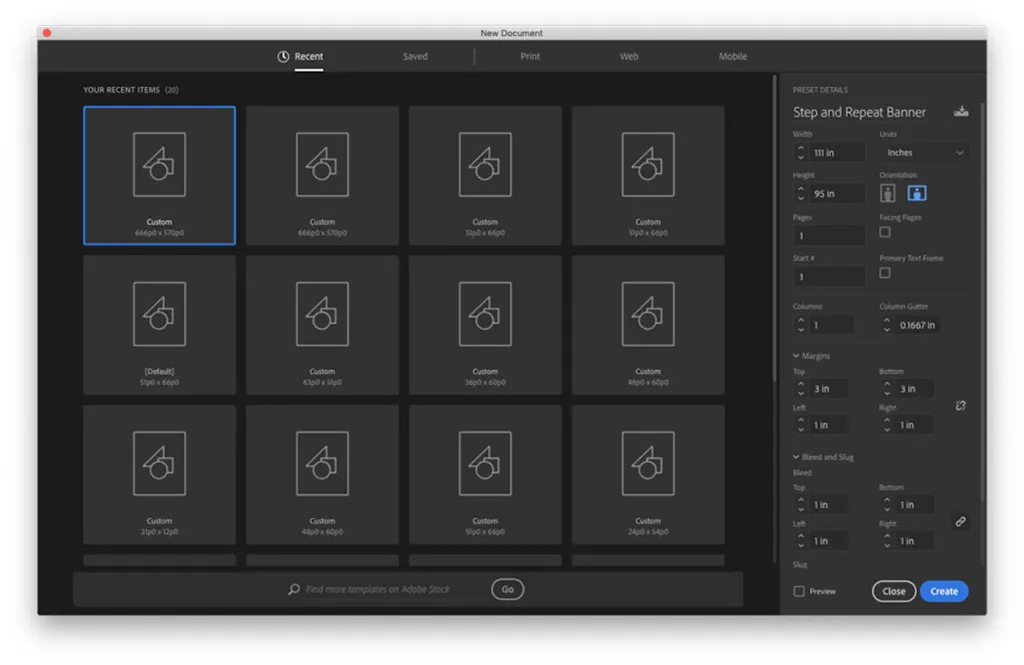
Start a New Document in InDesign and add specifications. For online printing, the file should always be designed at the finished size.
Smartpress Tip: Set your margins based on hem stitching guides, 3″ on the top and bottom and 1″ on the sides, remembering the 1/4″ bleed. Here is an example of a 111″ x 95″ step and repeat banner.
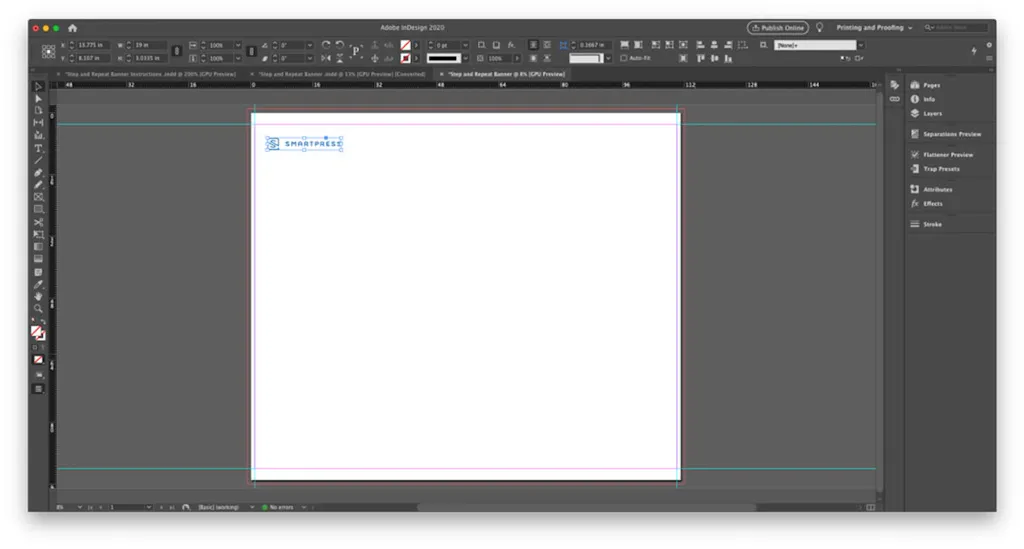
Step 2: Add Your Vector Logo
Place the vector logo on the page. As part of our online printing services, we recommend vertical logos be a minimum of 8″ to 10″ high and horizontal logos be a minimum of 8″ to 10″ wide. This will enhance visibility from a distance.
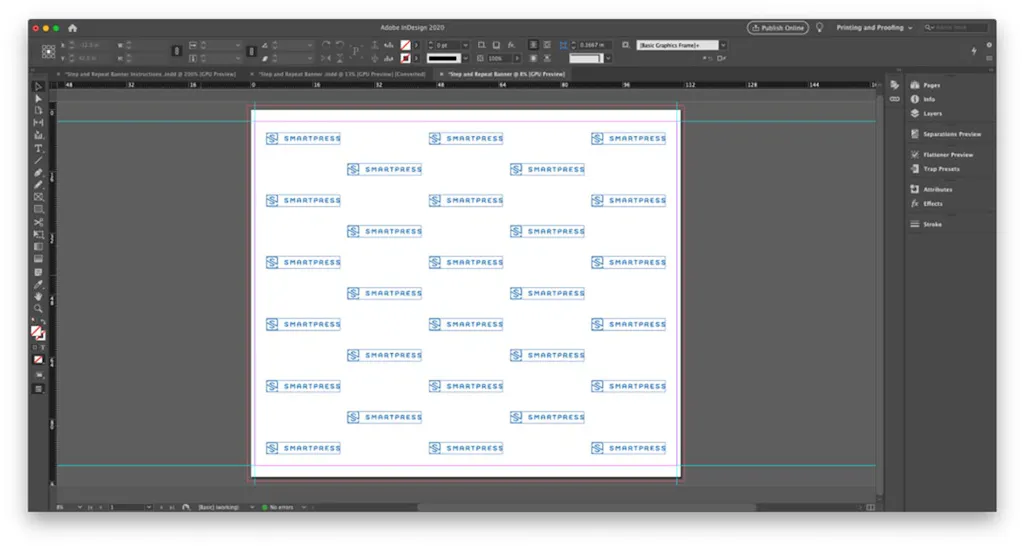
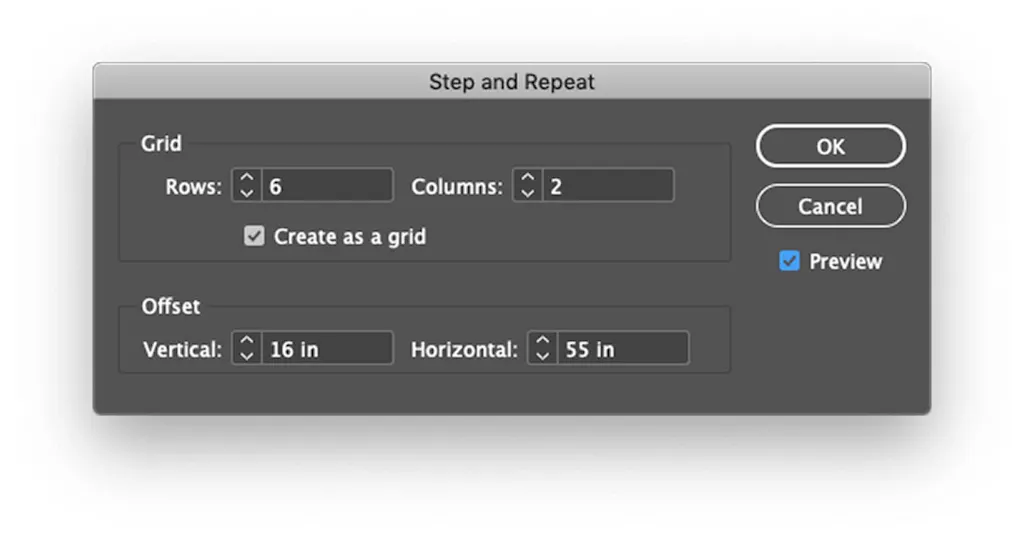
Step 3: Use the Step and Repeat Function to Replicate Your Logo and Adjust Spacing
Select logo and navigate to Edit > Step and Repeat or use keyboard shortcut Option + Command + U. The Step and Repeat window will open for you to adjust rows, columns and spacing between each logo. To see the design in progress as you adjust the settings, check the Preview box under the cancel button.

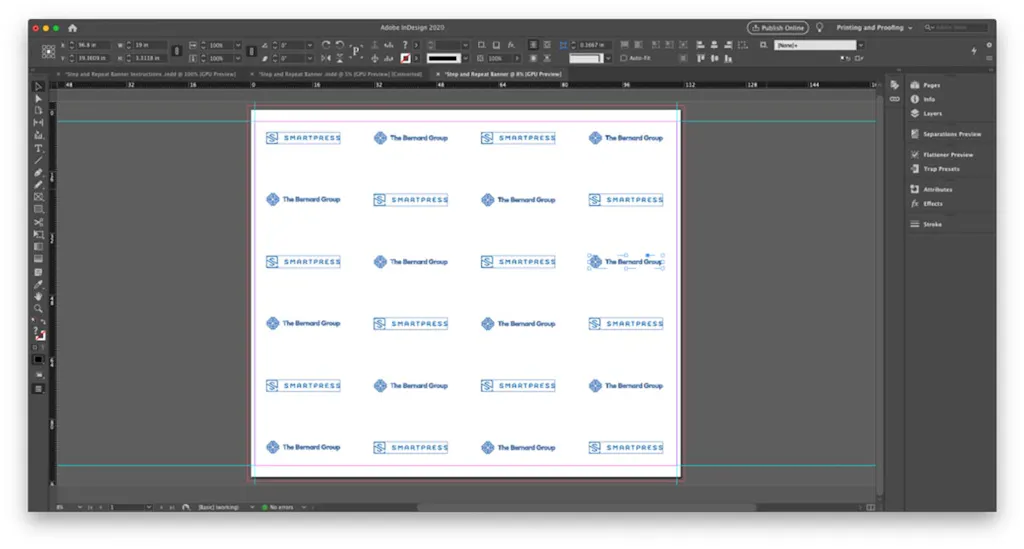
Step 4: (Optional) Offset Your Vector Logos For Visual Effect
Before submitting your design to an online printer, you can enhance it by offsetting the logos. You can do this manually by selecting individual rows and shifting them left or right. Just select every other row and move it to the left or right to offset it as much as you’d like.
Smartpress Tip: You may need to add an extra column to account for any logos that run off the banner.
(Note: In the example below, the logos that ran off the banner have been deleted.)
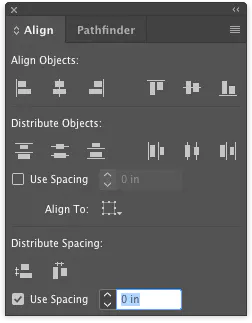
If you adjust things too far, the align tools can help you get your logos back on track. To find them, go to Window > Object & Layout > Align.
Step 5: (Optional) Add Additional Unique Logos to the Pattern
If you would like multiple logos on your custom banner, go back to Step 2. Place the logos side-by-side with the desired space between each one. Group the logos (Command + G) and proceed to step out and space the logos.
If you have questions about how to set up a step and repeat banner or any other printing services, please contact customer service and talk with our experts.
-
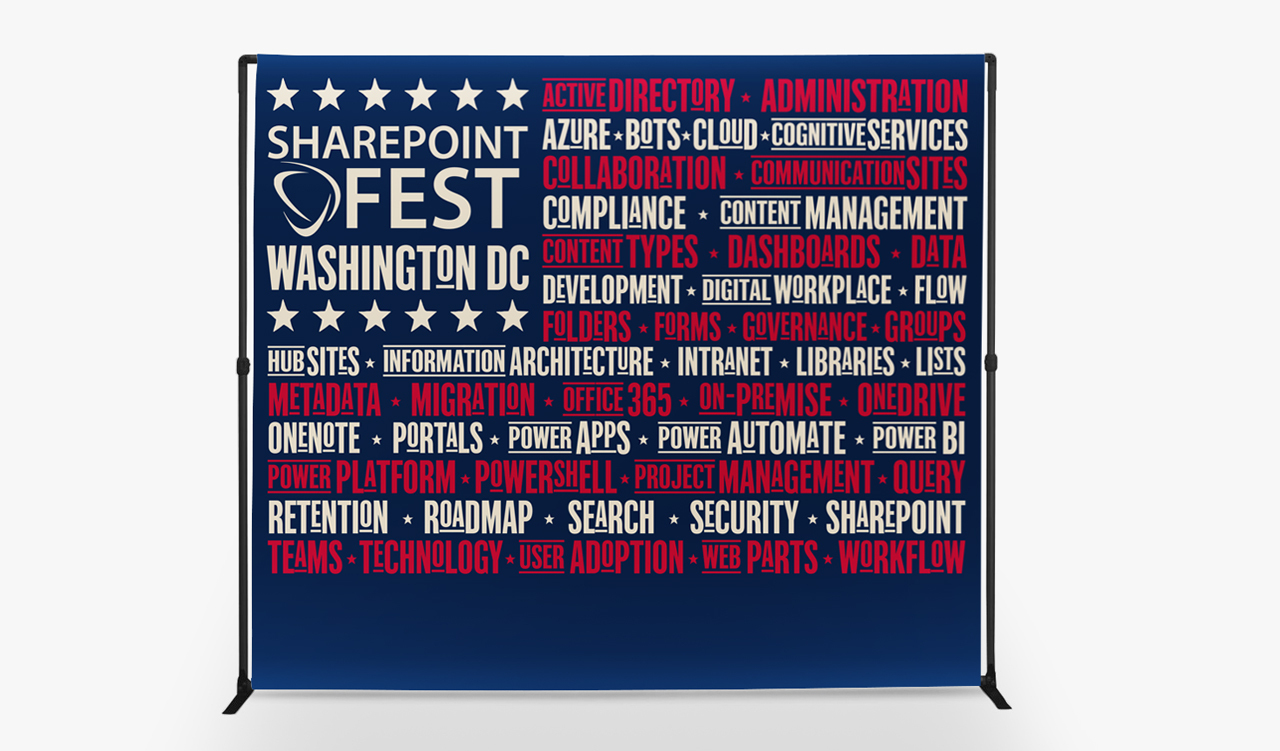
How to Install Step and Repeat Banners
Install Step and Repeat Banners Like a Pro Step and repeat banners are ideal for promoting your business or brand and providing photo backdrops for fundraisers, grand openings and conferences. After you’ve designed yours with our custom printing services, follow this article’s instructions or watch the video to learn how to install step and repeat […]
Read more› -

Fabric Backdrops vs. Vinyl Backdrops
Ideal for event advertising, branding, trade shows and more, backdrop printing sends a message that can’t be missed. Smartpress’ online printing services offer custom fabric backdrops and vinyl materials, so you get a look and feel that’s just right for you. Before you design photo backdrops or custom banners for online printing, compare the two […]
Read more›